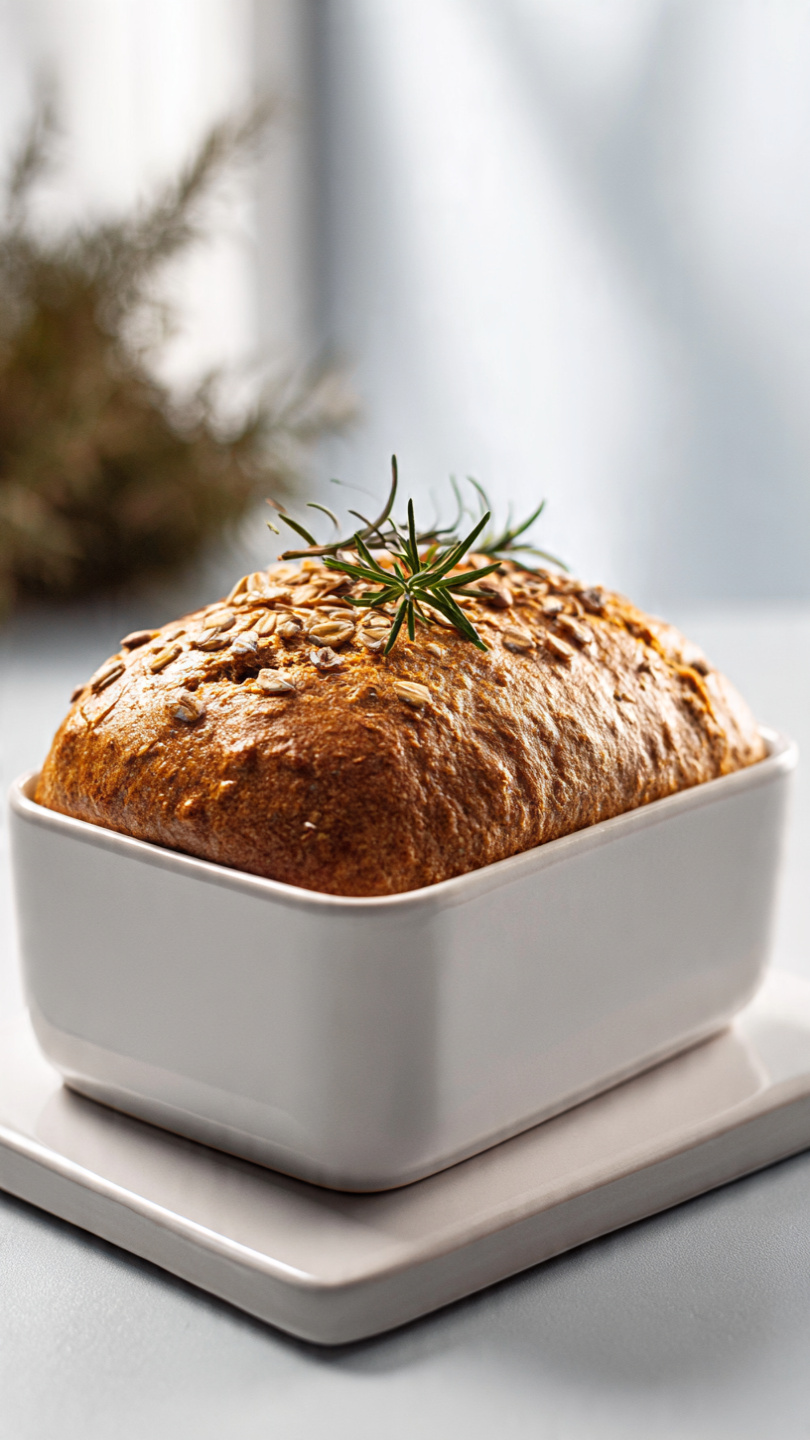
Whole Wheat Sourdough Bread
This whole wheat sourdough bread recipe uses an overnight ferment for deep, tangy flavor and a perfectly chewy crumb. Easy enough for beginners, rewarding enough for daily bakers.

The Overnight Sourdough Bread That Actually Fits Your Life
Sourdough bread has a reputation for being fussy, but the truth is that an overnight sourdough schedule is one of the most beginner-friendly ways to bake. You mix the dough in the evening, let time and your starter do the heavy lifting while you sleep, and wake up to a dough that is ready to shape and bake. No babysitting required.
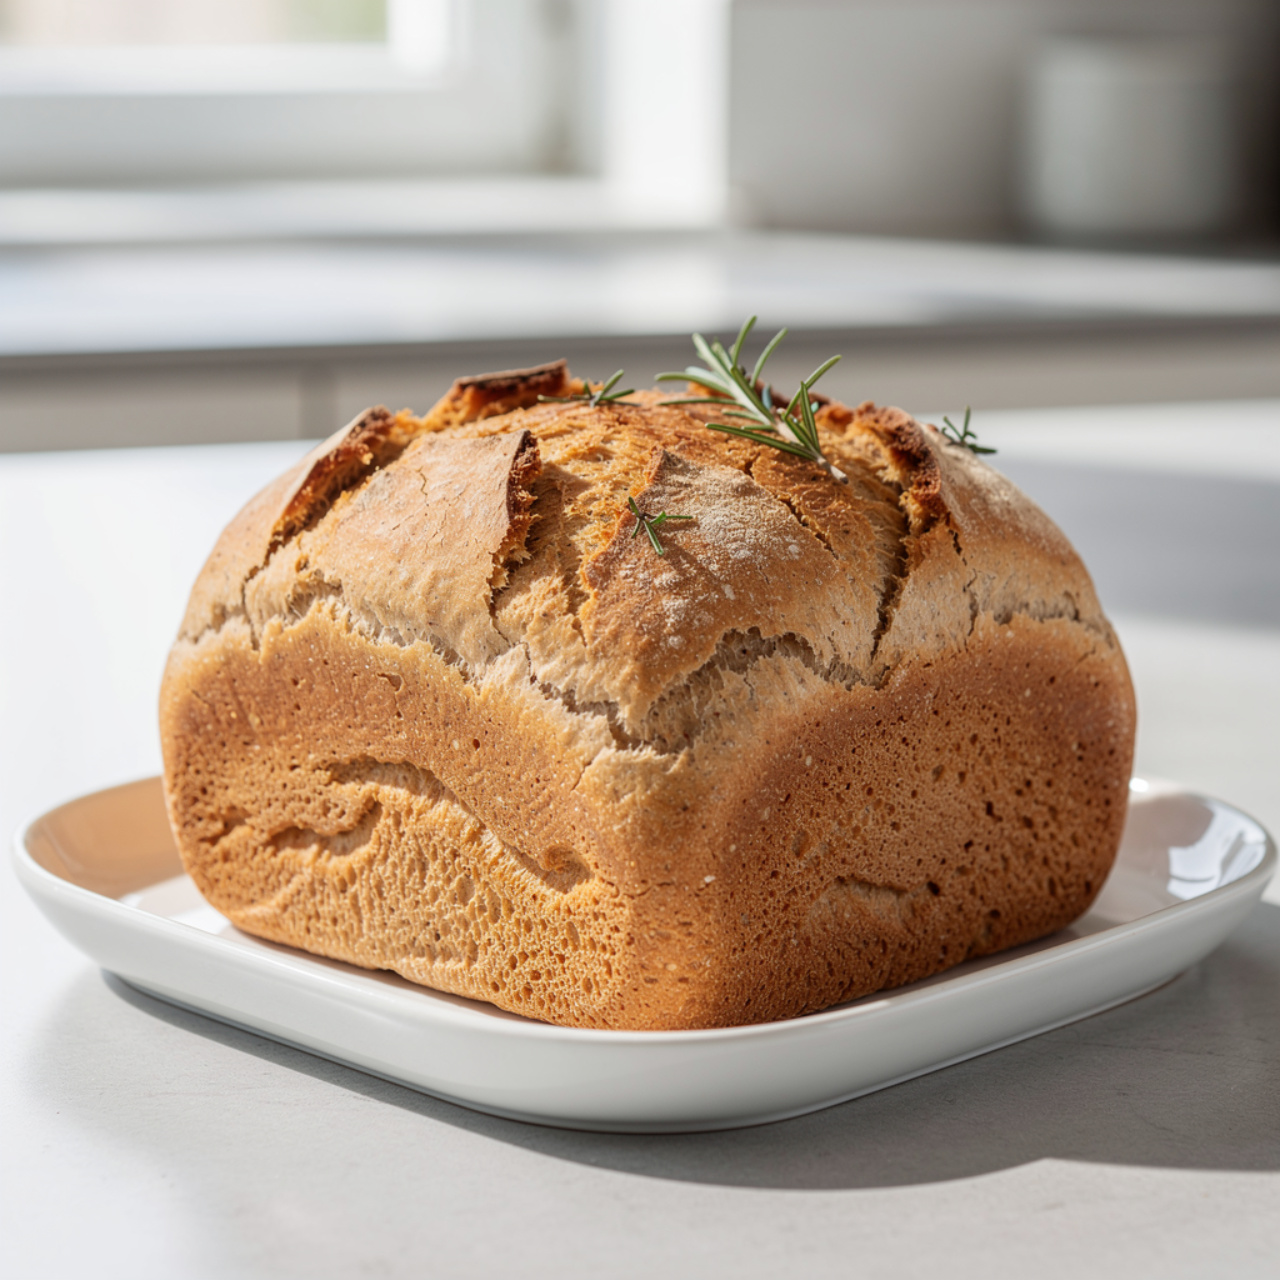
This whole wheat sourdough recipe leans into that overnight magic. The long, slow fermentation draws out every bit of nutty, earthy flavor from the whole wheat flour while keeping the crumb open and tender. The result is a loaf that slices clean, toasts beautifully, and tastes like something from a serious bakery counter.
Before we get into it, the right tools genuinely make a difference here. A good Dutch oven traps steam during the first bake, which is what gives sourdough that blistered, crackly crust. A banneton basket helps the dough hold its shape during the final proof. These are not luxuries; they are the two pieces of equipment that will take your loaf from good to great.
Why Whole Wheat Makes This Loaf Special
Whole wheat flour is not just a nutrition upgrade. It brings a toasty, almost nutty depth to the dough that plain white sourdough simply cannot match. When it ferments overnight with an active starter, those flavors concentrate and the natural tang of the sourdough weaves through every slice.
That said, 100 percent whole wheat doughs can be heavy and tight. This recipe blends whole wheat with bread flour to give the dough enough gluten structure to rise well and develop a proper open crumb. It is the best of both worlds: wholesome flavor with a satisfying, chewy texture.
Baker's Note: Stone-ground whole wheat flour will give you the most flavor. If you can find it at a local mill or natural foods store, it is worth seeking out. The difference is genuinely noticeable.
How the Overnight Sourdough Schedule Works
Easy overnight sourdough bread is all about working with fermentation time, not against it. Here is the basic flow:
- Evening: Mix your dough, perform your stretch-and-folds, then let the dough bulk ferment at room temperature overnight.
- Morning: Shape the dough, do a short cold proof in the refrigerator, then bake.
This beginner overnight sourdough approach means most of the hands-on time is split across two short sessions. You never need to clear your whole day for bread.
The overnight ferment also makes the loaf more digestible. Long fermentation breaks down phytic acid in the whole wheat, which means the bread is gentler on your stomach and the nutrients in the flour are more bioavailable. It is one of those happy cases where what tastes better is also better for you.
Timing Tip: Room temperature matters a lot. A warmer kitchen (above 72 degrees F) will speed up fermentation, while a cooler one (below 68 degrees F) will slow it. Trust your eyes: the dough is ready when it has grown by about 50 percent and looks airy and bubbly on the surface.
What to Expect From Your Starter
For a great overnight sourdough bread recipe with starter, your starter needs to be active and at peak. Feed it 4 to 6 hours before you plan to mix, and use it when it is domed, bubbly, and passes the float test (a small spoonful dropped in water should float).
If your starter is sluggish, your loaf will be dense. If it is overfermented and starting to collapse, the bread will taste overly sour. Timing your starter is the single most important skill in sourdough baking, and it gets easier quickly with practice.
Ready to bake your first loaf? Here is everything you need, step by step:
Whole Wheat Sourdough Bread
This whole wheat sourdough bread recipe uses an overnight ferment for deep, tangy flavor and a perfectly chewy crumb. Easy enough for beginners, rewarding enough for daily bakers.
Ingredients
- 1/2 cup active sourdough starter, fed and bubbly, at peak activity
- 2 cups whole wheat flour, stone-ground preferred
- 1 1/2 cups bread flour, plus more for dusting
- 1 1/4 cups lukewarm water, around 90 degrees F
- 1 1/2 tsp fine sea salt
- 1 tbsp honey, optional, adds subtle sweetness and helps browning
Instruction
The night before baking, combine the sourdough starter, lukewarm water, and honey in a large bowl and whisk until dissolved.
Add the whole wheat flour, bread flour, and salt. Mix with a stiff spatula or your hands until no dry flour remains. The dough will feel rough and shaggy.
Cover the bowl with plastic wrap or a damp kitchen towel and let it rest at room temperature for 30 minutes.
Perform four sets of stretch-and-folds over the next 2 hours, spaced 30 minutes apart. To stretch and fold, grab one side of the dough, stretch it upward, and fold it over the center. Rotate the bowl 90 degrees and repeat three more times to complete one set.
After the final fold, cover the dough and let it bulk ferment overnight at room temperature (65 to 75 degrees F) for 8 to 12 hours, until it has risen by about 50 percent and looks bubbly.
The next morning, lightly flour your work surface. Gently turn the dough out and pre-shape it into a round by pulling the edges toward the center.
Let the pre-shaped round rest uncovered for 20 minutes, then shape it into a tight boule or batard. Place it seam-side up into a well-floured banneton or a bowl lined with a floured kitchen towel.
Cover and refrigerate for 1 to 2 hours for a cold final proof. Preheat your oven to 500 degrees F (260 degrees C) with a Dutch oven inside for at least 45 minutes.
Score the top of the dough with a lame or sharp serrated knife, making one confident slash about 0.5 inches deep.
Carefully lower the dough into the preheated Dutch oven, cover with the lid, and bake for 20 minutes.
Remove the lid, reduce the oven temperature to 450 degrees F (230 degrees C), and bake for another 20 to 25 minutes until the crust is deep amber and the internal temperature reads 205 to 210 degrees F.
Transfer the loaf to a wire rack and let it cool for at least 1 hour before slicing. The interior continues to set as it cools.
Equipment
- Large mixing bowl
- Dutch oven (at least 5 quarts)
- Banneton proofing basket or bowl with kitchen towel
- Bench scraper
- Lame or sharp serrated knife
- Instant-read thermometer
- Wire cooling rack
Notes
Serving, Storing, and Making It Your Own
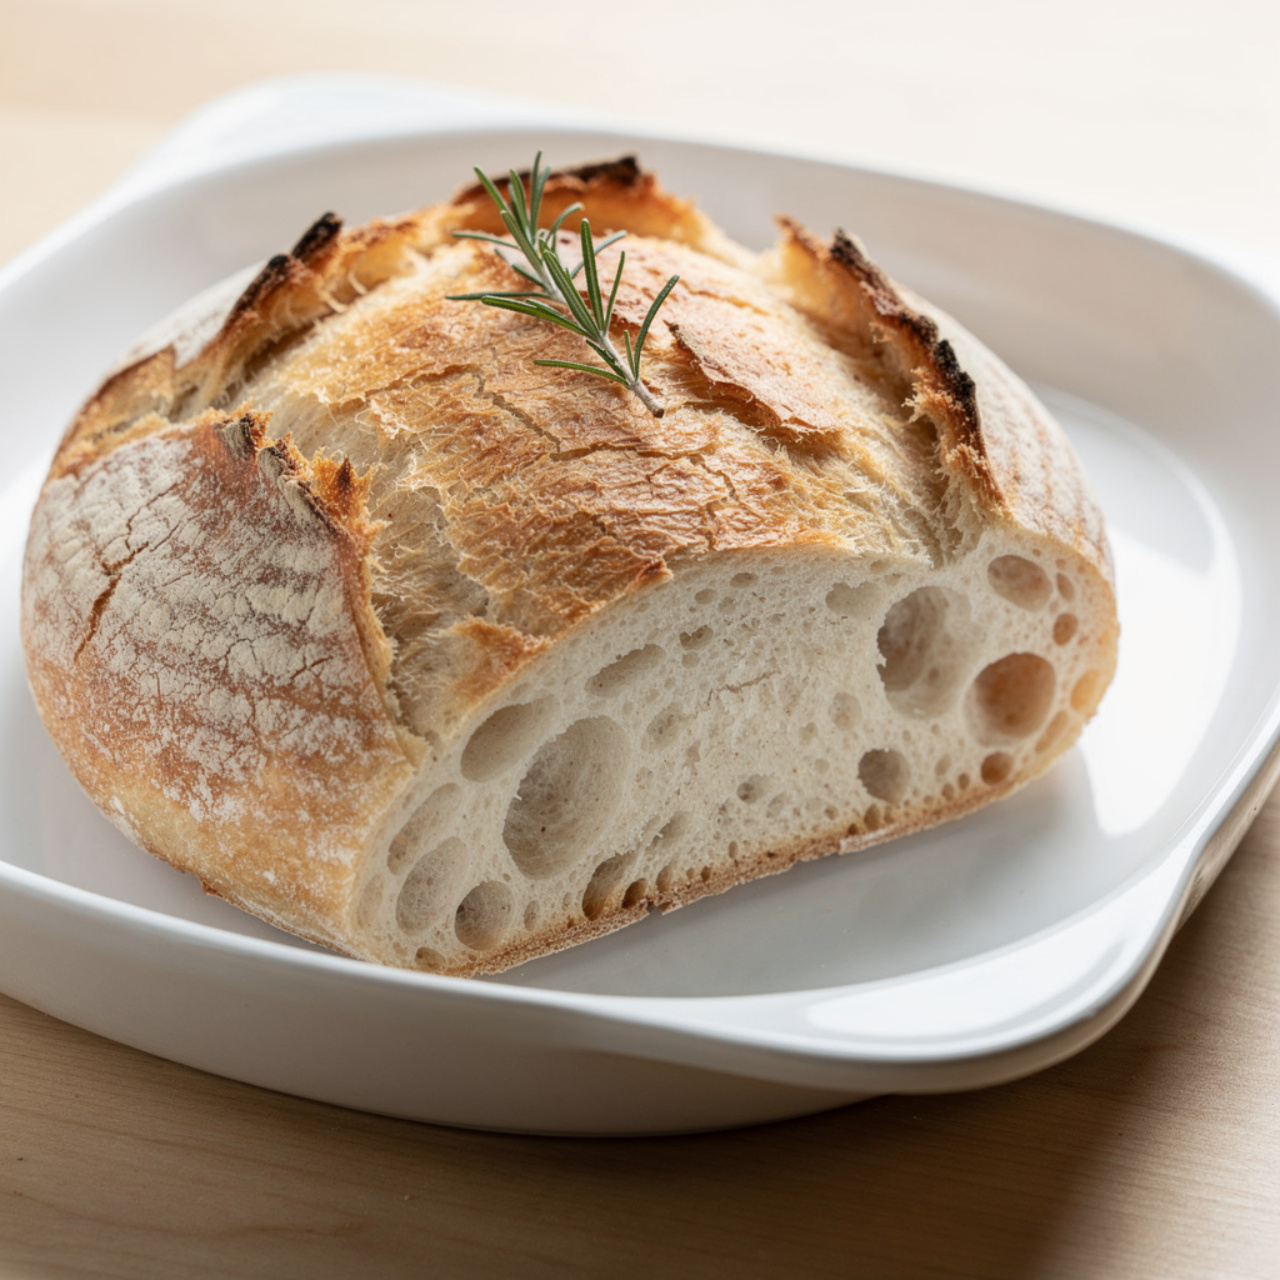
This loaf is spectacular with nothing more than good butter and a pinch of flaky salt. It also holds up beautifully as sandwich bread, avocado toast, or a base for a fried egg.
Storage tips:
- Keep the loaf cut-side down on a wooden board, covered loosely with a towel, for up to 3 days.
- Freeze individual slices for up to 3 months and toast them straight from frozen.
- Avoid storing in a sealed plastic bag; it softens the crust.
Once you are comfortable with this recipe, try swapping in a few tablespoons of rye flour for a more complex, earthy flavor, or fold in seeds like sesame, sunflower, or caraway during your final stretch-and-fold. This loaf is a genuinely versatile canvas.