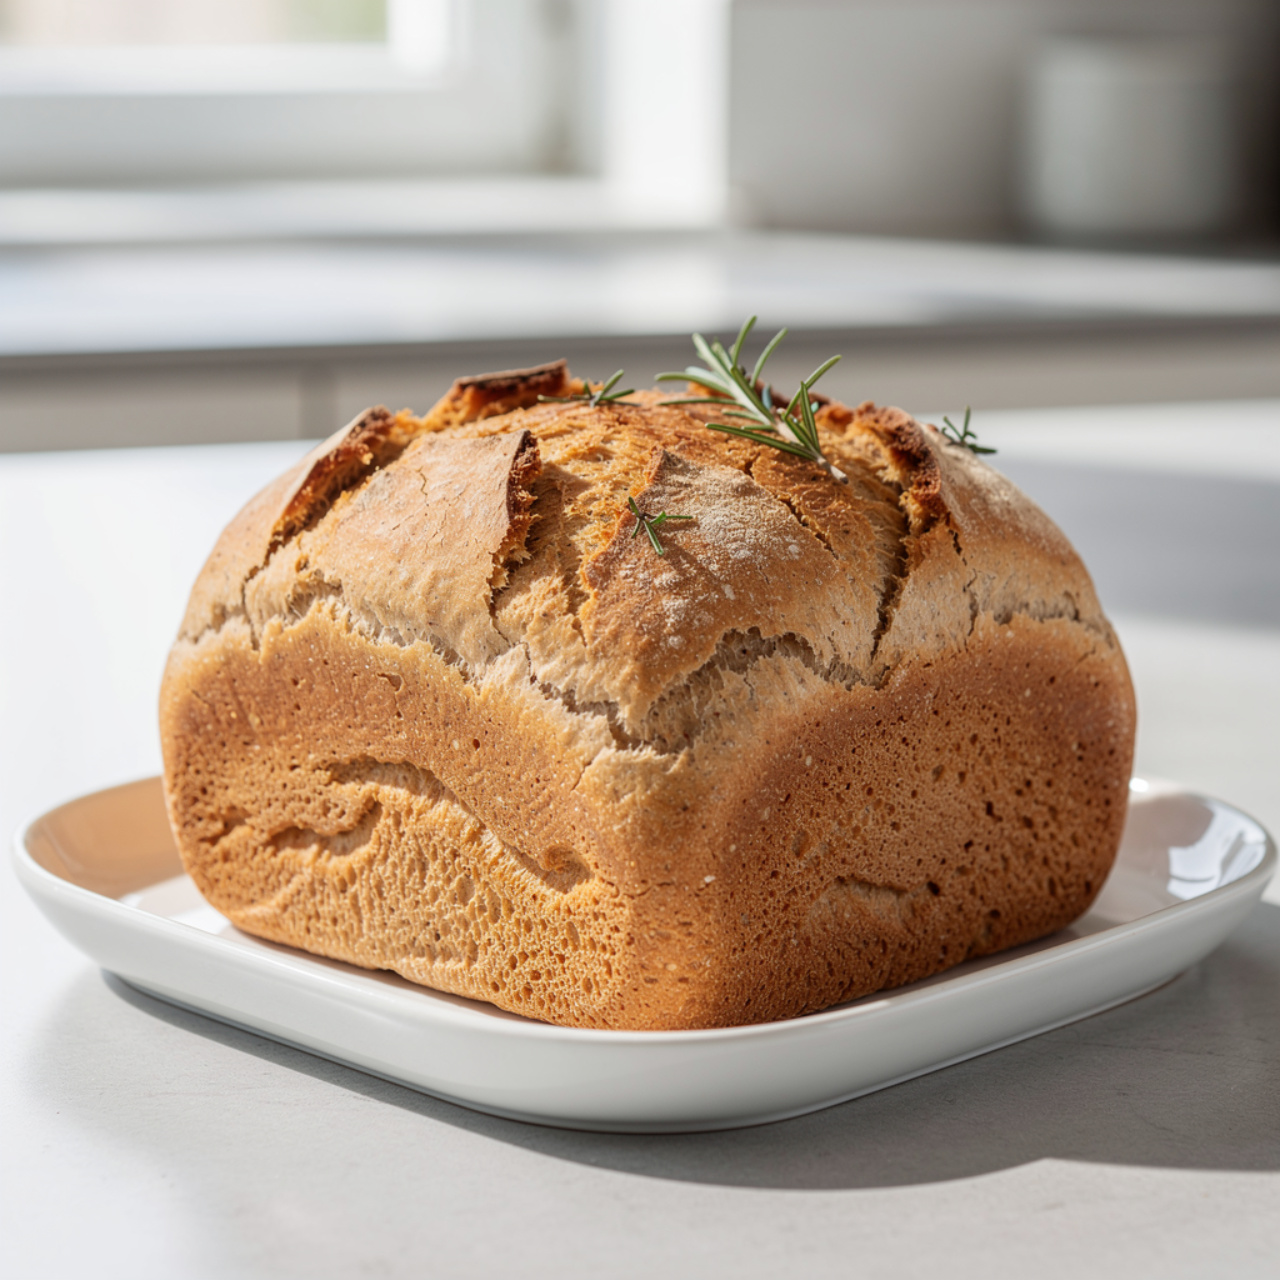
Homemade Sourdough Bread: The Only Recipe You'll Ever Need
This homemade sourdough bread recipe delivers a crackly crust, open crumb, and that signature tangy flavor using your own sourdough starter. Perfect for beginners and seasoned bakers alike.

The Sourdough Bread Recipe That Actually Makes Sense
If you have been staring at your jar of sourdough starter wondering what to do with it, you are in exactly the right place. This is a homemade sourdough bread recipe built for real kitchens and real schedules. No fancy equipment wall, no cryptic baking jargon, just a clear, step-by-step path to a loaf with a shattering crust, a creamy open crumb, and that deep, tangy flavor you get from true long-fermentation sourdough baking.
Whether you landed here searching for a sourdough starter recipe, looking for ways to use up your sourdough starter discard, or simply craving proper pan de masa madre at home, this guide covers everything from the first mix to the first slice.
Why Sourdough is Worth Every Minute
Sourdough bread is not fast bread. It is not meant to be. The long fermentation process, driven by your live sourdough starter, does something that commercial yeast simply cannot replicate. It breaks down phytic acid in the flour, making the loaf easier to digest. It develops layers of flavor that smell like something between fresh bread and a French bakery. And it keeps longer on the counter than any sandwich loaf you have ever bought.
This is sourdough baking at its most rewarding. The kind of recipe where a little patience pays you back with something genuinely special.
A Note on Timing: The total time from mix to bake spans roughly 18 to 24 hours, but most of that is hands-off fermentation. Your active working time is closer to 45 minutes spread throughout the day.
Start With an Active Sourdough Starter
The foundation of any great sourdough bread recipe is a healthy, active sourdough starter. Before you mix a single gram of flour, your starter should be bubbly, fragrant, and at or near its peak rise after feeding.
Here is a quick checklist for a ready starter:
- It has roughly doubled in size since its last feeding
- It smells pleasantly tangy, almost like yogurt or beer
- A small spoonful dropped into water floats (the classic float test)
- The surface is domed, not sunken
If your starter is sluggish, give it one or two more feedings spaced 8 to 12 hours apart before you bake. Rushing this step is the most common reason a sourdough starter recipe effort ends in a flat, gummy loaf.
The Right Tools Make a Real Difference
For sourdough, a few key tools elevate your results significantly. A Dutch oven is the single most impactful piece of equipment for home bakers because the steam it traps produces that iconic blistered crust. A bread lame gives you clean, intentional scores. And a kitchen scale takes the guesswork out of flour measurement, which matters more in bread baking than in almost any other cooking.
How to Shape Sourdough Bread (Without Stressing About It)
Shaping is the step that intimidates most new bakers, but it becomes intuitive after just one or two loaves. The goal is to build surface tension across the outside of the dough so the loaf holds its structure as it rises and bakes.
A simple letter fold pre-shape followed by a tight final shape is all you need:
- Flour your surface lightly
- Gently turn the dough out and fold each edge toward the center
- Flip it seam-side down and use your bench scraper to drag the ball toward you, building tension
- Rest for 20 minutes uncovered
- Repeat the fold for the final shape and drop it into your floured banneton
Chef's Tip: Rice flour is the gold standard for dusting your banneton because it does not absorb moisture like wheat flour does. Your dough will release cleanly every single time.
Flavor Variations and Creative Sourdough Ideas
Once you have the base sourdough bread recipe dialed in, the variations are nearly endless. Here are some crowd favorites worth exploring:
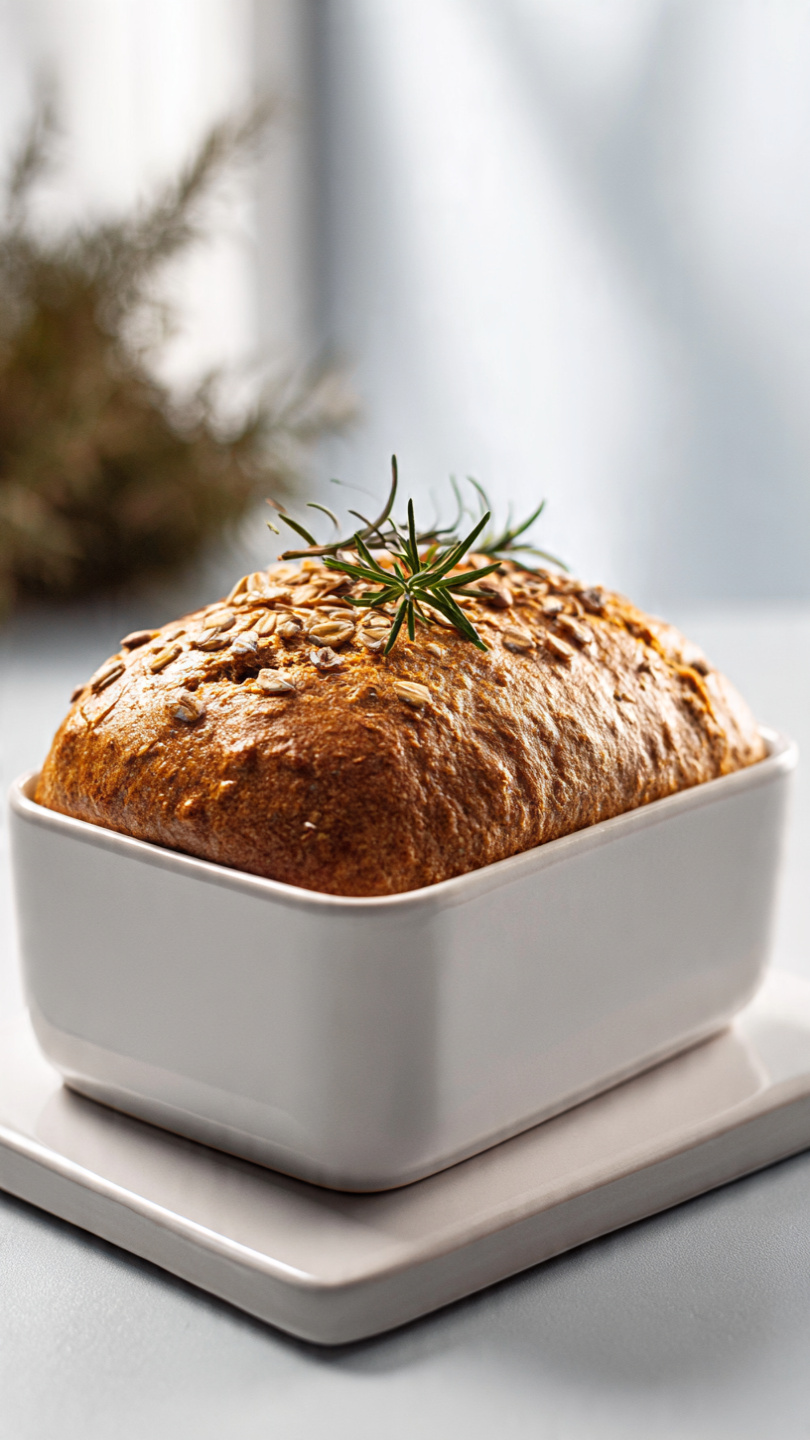
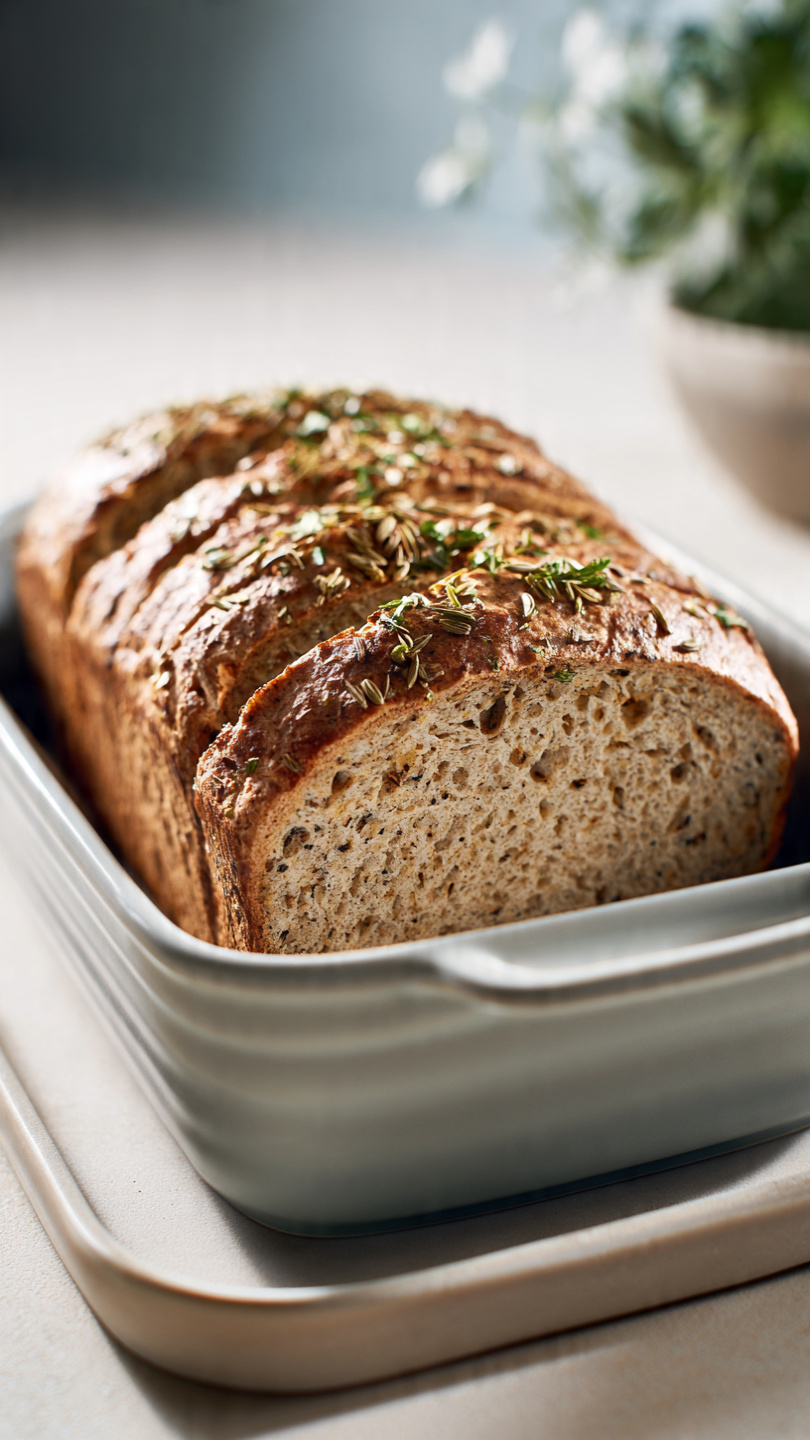
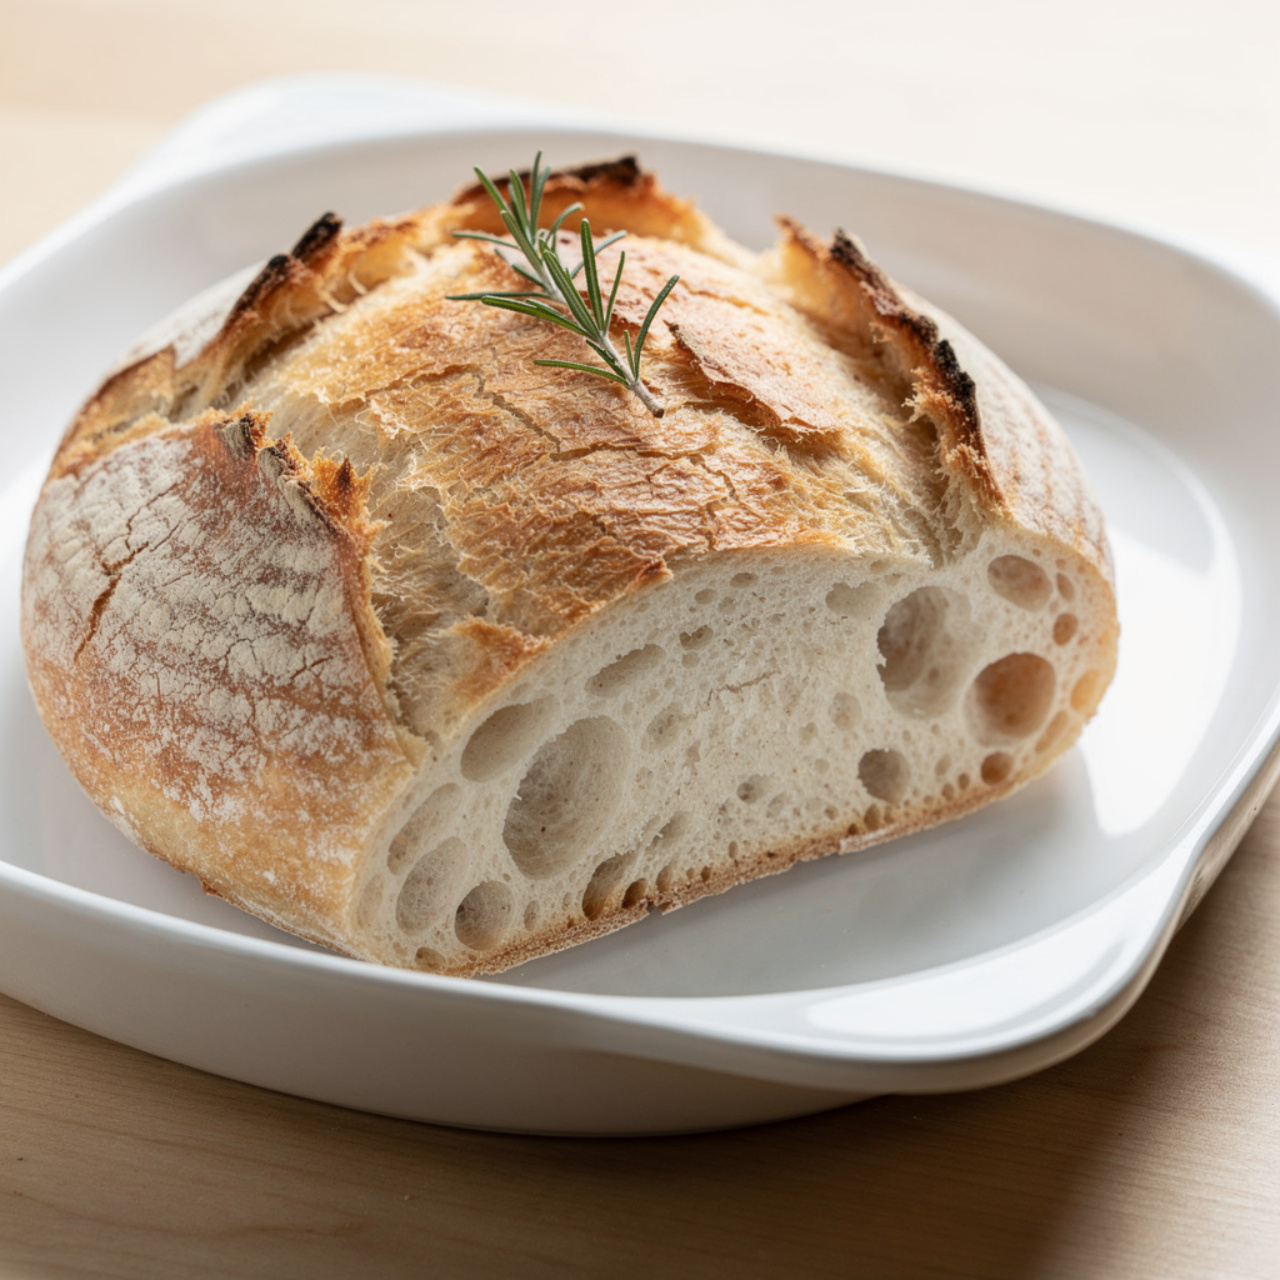
- Rosemary and Sea Salt Sourdough: Fold in 2 tablespoons of fresh chopped rosemary and a pinch of flaky salt during the stretch and fold stage
- Seeded Sourdough: Press the outside of the shaped loaf into a mix of sesame, poppy, and sunflower seeds before loading it into the banneton
- Sourdough Pull Apart Bread: Press the baked loaf into a scored pull-apart format with garlic butter and herbs stuffed between the cuts for a showstopping pull apart bread at the table
- Sourdough Discard Flatbread: Use leftover sourdough starter discard to make quick skillet flatbreads with no bulk fermentation required
Each of these builds on the same foundational dough, so once you know the process, the whole world of starters recipes opens up.
Ready to bake your best loaf yet? Here is the complete step-by-step recipe:
Homemade Sourdough Bread: The Only Recipe You'll Ever Need
This homemade sourdough bread recipe delivers a crackly crust, open crumb, and that signature tangy flavor using your own sourdough starter. Perfect for beginners and seasoned bakers alike.
Ingredients
- 4 cups bread flour, plus more for dusting
- 1/2 cup active sourdough starter, fed and bubbly, at peak activity
- 1 1/4 cups warm water, about 90 degrees F
- 1 1/2 tsp fine sea salt
- 2 tbsp rice flour, for dusting the banneton or bowl
Instruction
In a large bowl, combine the warm water and active sourdough starter. Whisk together until the starter is fully dissolved and the mixture looks slightly frothy.
Add the bread flour all at once and mix with your hands or a dough scraper until no dry flour remains. The dough will be shaggy and rough. Cover the bowl with a damp towel and let it rest for 30 minutes. This rest period is called the autolyse.
After the autolyse, sprinkle the sea salt evenly over the dough and use wet hands to squeeze and fold it in until fully incorporated.
Perform a series of stretch and folds over the next 3 hours. Every 30 minutes, grab one side of the dough, stretch it upward, and fold it over the center. Rotate the bowl 90 degrees and repeat on all four sides. Do this 4 to 6 times total.
After the final stretch and fold, cover the bowl and let the dough continue its bulk fermentation at room temperature until it has risen by about 50 to 75 percent and looks domed and bubbly. This typically takes 4 to 6 hours at 75 degrees F.
Turn the dough out onto a lightly floured surface. Gently pre-shape it into a round by folding the edges toward the center. Let it rest uncovered for 20 minutes.
Dust a proofing basket or bowl lined with a linen cloth generously with rice flour. Do a final shape by folding the dough tightly into a smooth ball and place it seam-side up into the prepared basket.
Cover loosely with plastic wrap and refrigerate overnight, or for up to 16 hours. This cold proof deepens the flavor and makes scoring much easier.
When ready to bake, place a Dutch oven with its lid inside your oven and preheat to 500 degrees F (260 degrees C) for at least 45 minutes.
Cut a sheet of parchment paper to fit your Dutch oven. Carefully turn the cold dough out onto the parchment, seam-side down. Score the top quickly with a sharp lame or razor blade at a 30-degree angle.
Using the parchment as a sling, lower the dough into the screaming hot Dutch oven. Replace the lid and bake for 20 minutes. Then remove the lid, reduce the oven temperature to 450 degrees F (230 degrees C), and continue baking for 20 to 25 more minutes until the crust is a deep, mahogany brown.
Remove the loaf from the Dutch oven and transfer it to a wire rack. Let it cool for at least 1 hour before slicing. Cutting into it too early will give you a gummy crumb.
Equipment
- Large mixing bowl
- Bench scraper or dough scraper
- Banneton proofing basket or medium bowl with linen liner
- Dutch oven (4 to 6 quart)
- Bread lame or sharp razor blade
- Wire cooling rack
- Parchment paper
- Kitchen scale (recommended)
- Instant-read thermometer
Notes
Serving Suggestions and Pairing Ideas
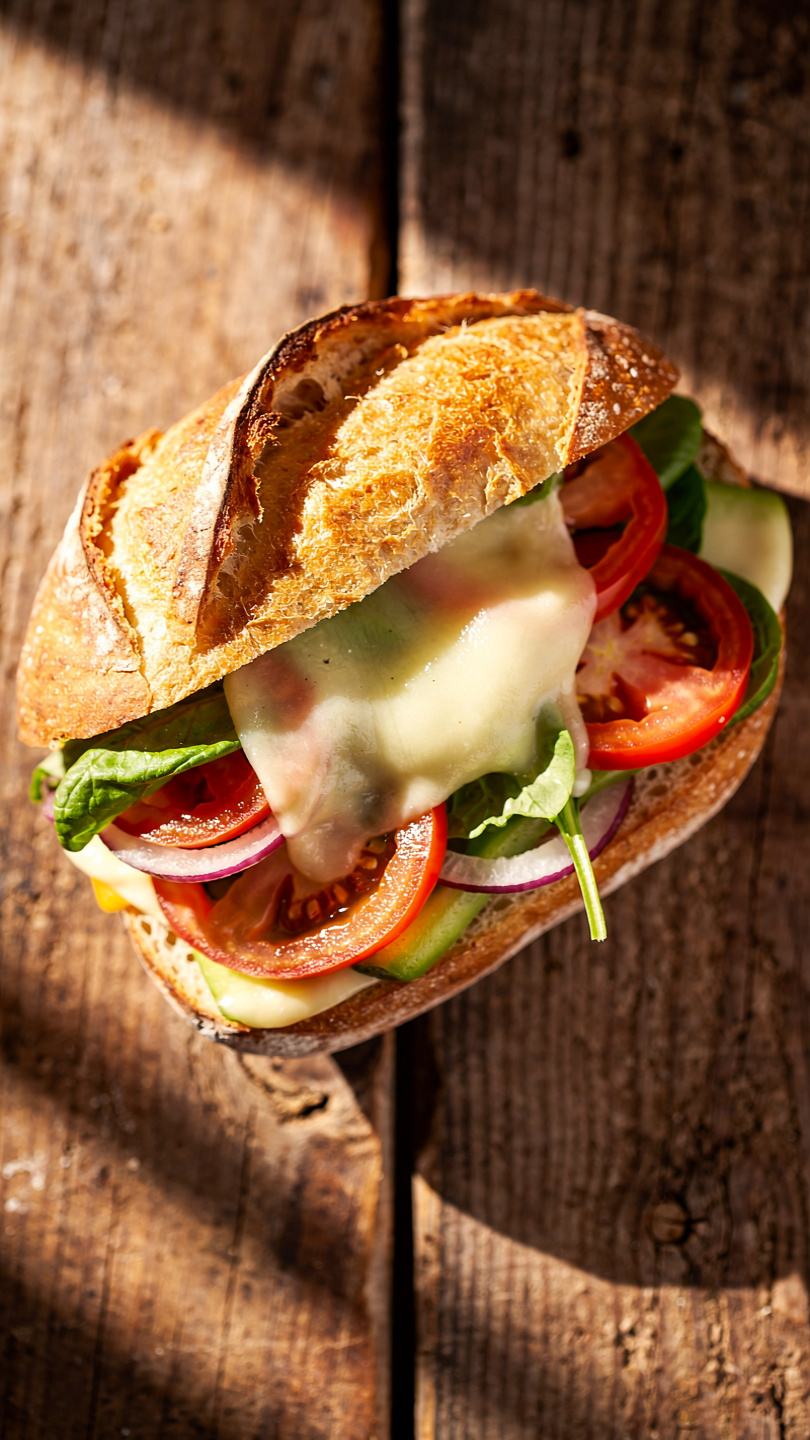
A freshly baked sourdough loaf is complete on its own with nothing more than good salted butter. But if you want to take it further, here are a few serving ideas that genuinely shine:
- Slice thick and use as the base for an open-faced avocado toast
- Cube and toast for croutons in a Caesar or tomato soup
- Serve alongside a cheese board with whole grain mustard and cornichons
- Use day-old slices for a deeply savory bread pudding or panzanella salad
This is the kind of bread that makes everything around it taste better. Bake it once and you will understand why so many home bakers say there is no going back to store-bought.