Homemade Honey Wheat Bread (Soft, Easy, and Beginner-Friendly)
This easy homemade honey wheat bread is soft, subtly sweet, and perfect for sandwiches or toast. A beginner-friendly whole wheat bread recipe the whole family will love.

There Is Nothing Quite Like a Homemade Wheat Bread Loaf Fresh From the Oven
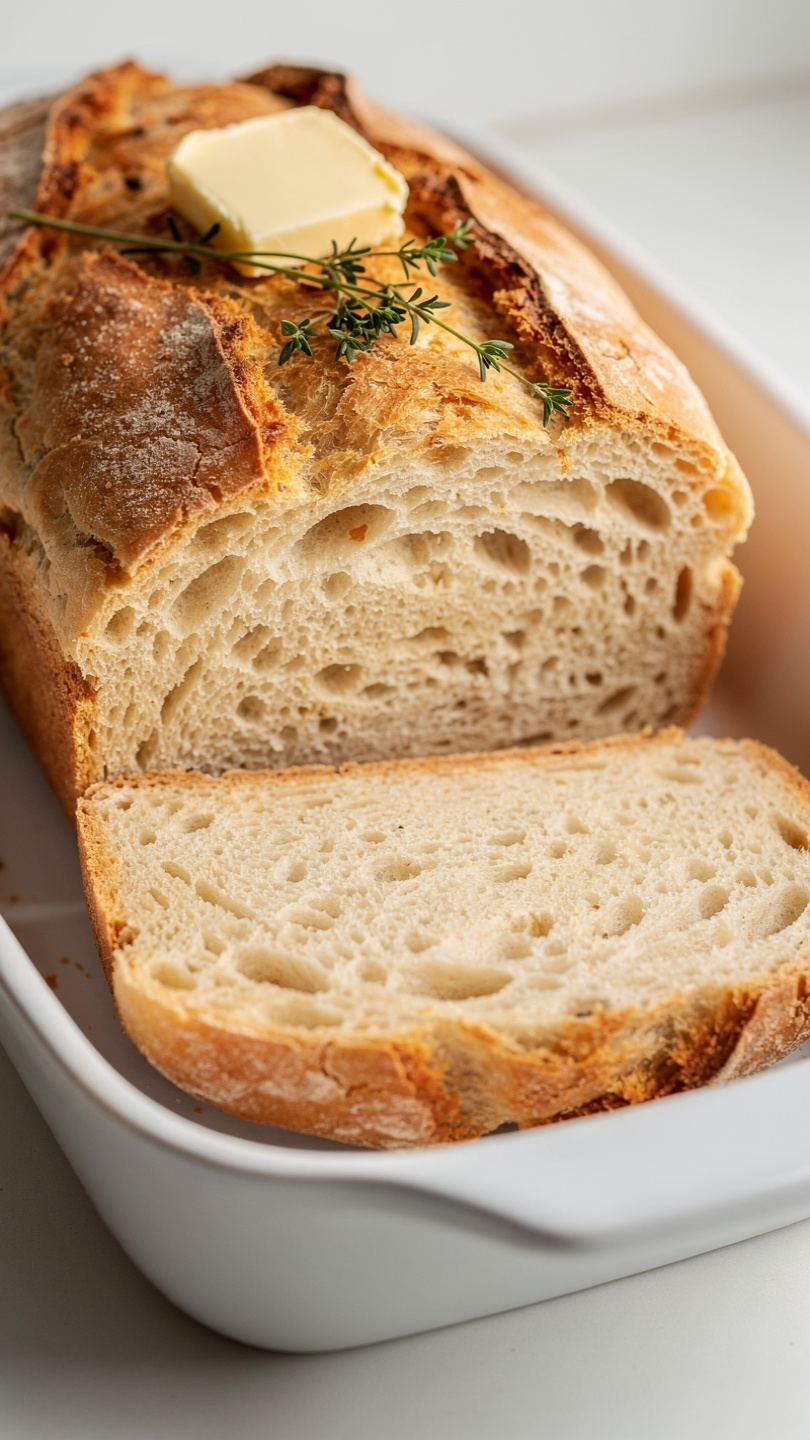
If you have ever pulled a golden, fragrant loaf of homemade honey wheat bread out of the oven, you already know the feeling. That warm, nutty aroma that fills your kitchen, the satisfying hollow thump when you tap the crust, the way it slices cleanly with a soft, tender crumb inside. It is one of those simple kitchen wins that never gets old.
This recipe is everything you want in an easy homemade whole wheat bread: approachable for beginners, reliable enough for weekly baking, and genuinely delicious. A touch of honey adds natural sweetness and keeps the loaf moist for days. The blend of whole wheat and all-purpose flour gives you wholesome flavor without the dense, heavy texture that discourages so many first-time bread bakers.
Whether you are searching for easy whole wheat bread recipes for beginners or trying to nail down the perfect homemade honey wheat bread recipe to bake every week, this is the one.
Why You Will Love This Recipe
Let's be honest. Many homemade whole wheat bread loaves end up too dense, too dry, or too complicated. This one sidesteps all of those pitfalls.
- Soft and sliceable thanks to the honey and oil combination
- Beginner-friendly with no complicated techniques or hard-to-find ingredients
- Versatile for sandwiches, toast, or eating warm with a pat of butter
- Freezer-friendly so you can always have a loaf on hand
- Naturally sweetened with real honey instead of refined sugar
Chef's Tip: The single biggest upgrade you can make to this recipe is adding vital wheat gluten. It strengthens the dough structure and helps whole wheat bread rise higher and stay softer. You can find it in most grocery store baking aisles or online.
The Right Tools Make a Real Difference
Bread baking rewards you when you have a few reliable tools on hand. A quality 9x5 inch loaf pan ensures even baking and a beautiful shape, while an instant-read thermometer takes all the guesswork out of knowing when your loaf is done. Using good ingredients, especially fresh active dry yeast and raw honey, goes a long way toward consistent, delicious results every time.
How To Make Homemade Whole Wheat Bread, Step by Step
This homemade wheat bread comes together in a few simple stages. Here is what to keep in mind before you start.
Proofing the Yeast
Do not skip this step. Combining your yeast with warm water and honey and letting it sit for 5 to 10 minutes tells you immediately whether your yeast is alive and active. You are looking for a foamy, bubbly surface. No foam means the yeast is dead and your bread will not rise.
Mixing and Kneading
The dough should be slightly tacky but not sticky. If it clings aggressively to your hands, add flour one tablespoon at a time. Kneading develops gluten, which gives the bread its structure and chew. You will know it is ready when the dough is smooth, elastic, and springs back slowly when you poke it.
The Two Rises
Patience here pays off. The first rise builds flavor and structure. The second rise, after shaping, is what gives your loaf that beautiful domed crown above the pan. A warm, draft-free spot speeds things up. Placing the covered bowl near a slightly warm oven works perfectly.
Chef's Tip: Do not rush the second rise. If the dough has not crested at least an inch above the pan rim, give it another 15 minutes. An under-proofed loaf bakes up dense and compact.
Ready to bake your own loaf? Here is the full recipe with all the details:
Homemade Honey Wheat Bread (Soft, Easy, and Beginner-Friendly)
This easy homemade honey wheat bread is soft, subtly sweet, and perfect for sandwiches or toast. A beginner-friendly whole wheat bread recipe the whole family will love.
Ingredients
- 2 cups whole wheat flour, spooned and leveled
- 1 cup all-purpose flour, plus more for kneading
- 2 1/4 tsp active dry yeast, one standard packet
- 1 cup warm water, between 105 and 110 degrees F
- 3 tbsp honey, raw or clover honey works great
- 2 tbsp vegetable oil, or melted butter for richer flavor
- 1 tsp salt
- 1 tbsp vital wheat gluten, optional but highly recommended for a better rise
Instruction
In a large mixing bowl or the bowl of a stand mixer, combine the warm water and honey. Sprinkle the yeast over the top and let it sit for 5 to 10 minutes until foamy and fragrant. If it does not foam, your yeast may be expired or your water too hot.
Add the vegetable oil and salt to the yeast mixture and stir to combine.
Add the whole wheat flour and vital wheat gluten (if using) and stir until a rough dough forms. Add the all-purpose flour half a cup at a time, mixing after each addition, until the dough pulls away from the sides of the bowl and is slightly tacky but not sticky.
Turn the dough out onto a lightly floured surface and knead by hand for 8 to 10 minutes, or use a stand mixer with a dough hook on medium speed for 6 to 7 minutes. The dough should be smooth, elastic, and spring back slowly when poked.
Shape the dough into a ball and place it in a lightly oiled bowl. Cover with plastic wrap or a damp kitchen towel and let it rise in a warm spot for 1 hour, or until doubled in size.
Punch down the dough gently to release air bubbles. On a lightly floured surface, flatten the dough into a rough rectangle about as wide as your 9x5 inch loaf pan. Roll it up tightly into a log and pinch the seam to seal.
Place the dough seam-side down into a greased 9x5 inch loaf pan. Cover loosely and let it rise again for 45 minutes to 1 hour, until the dough crowns about 1 inch above the rim of the pan.
Preheat your oven to 350 degrees F (175 degrees C) while the dough completes its second rise.
Bake for 30 to 35 minutes until the top is deep golden brown. The loaf should sound hollow when tapped on the bottom and register an internal temperature of 190 to 200 degrees F.
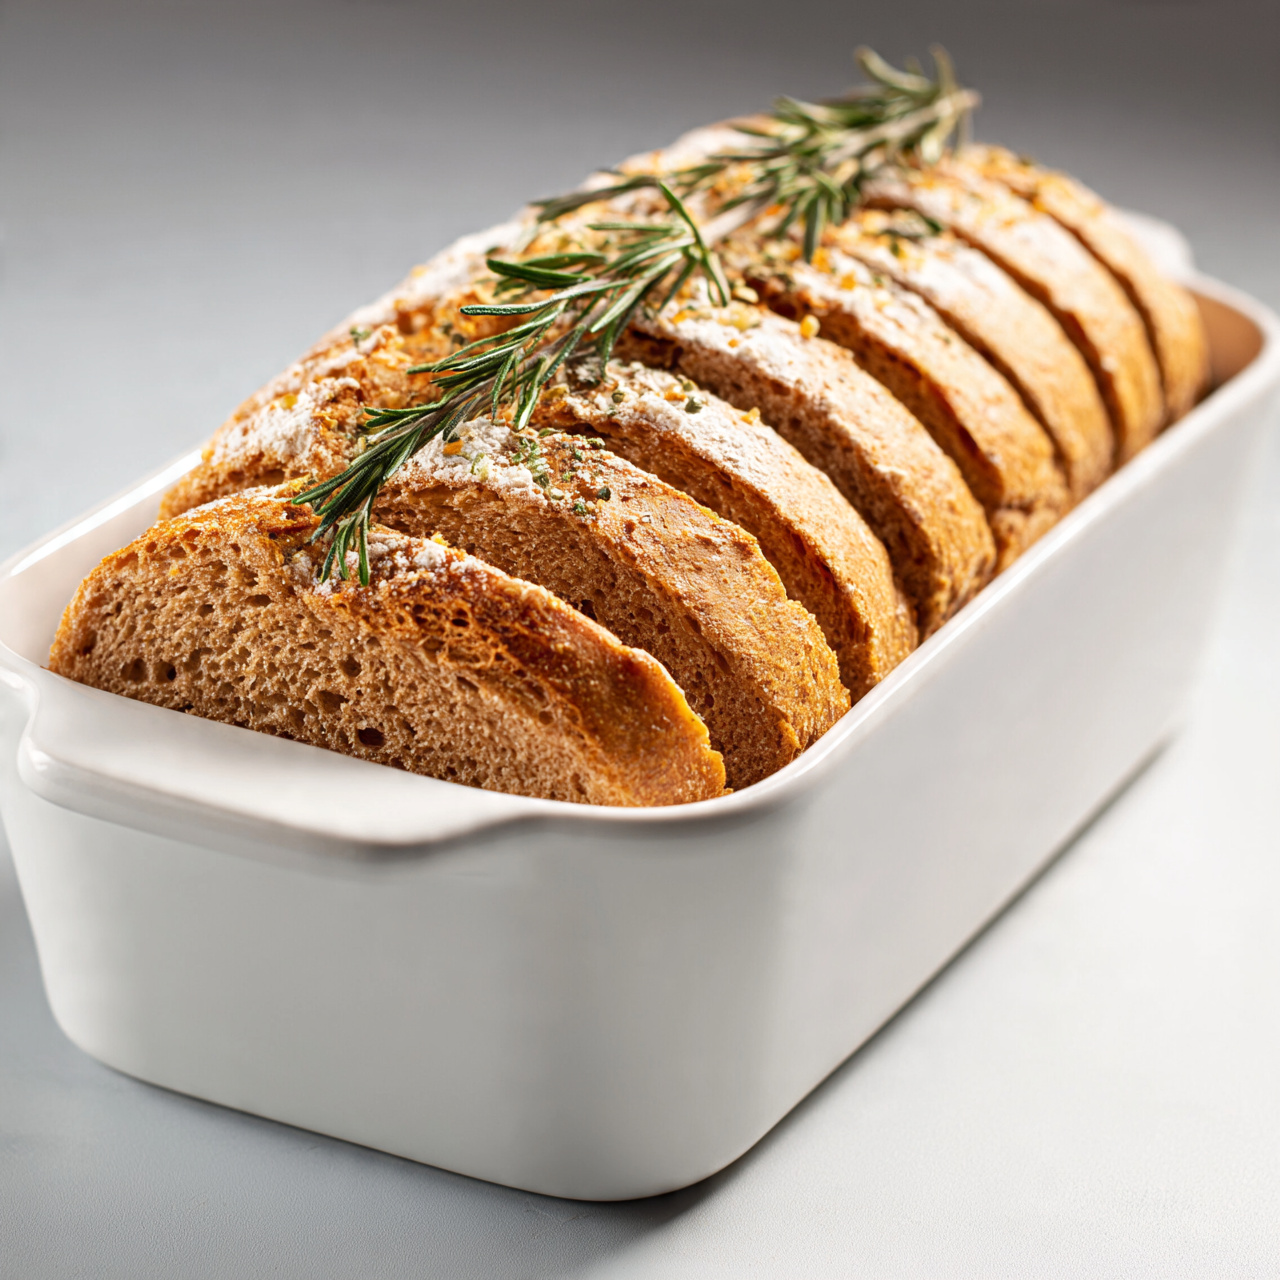
Remove from the pan immediately and transfer to a wire rack. Let the loaf cool for at least 30 minutes before slicing to allow the crumb to set properly.
Equipment
- Large mixing bowl
- Stand mixer with dough hook (optional)
- 9x5 inch loaf pan
- Plastic wrap or damp kitchen towel
- Wire cooling rack
- Instant-read thermometer
Notes
Serving, Storing, and Variations
Serving Suggestions
This homemade honey wheat bread is endlessly versatile. Slice it thick for sandwiches, toast it lightly with almond butter and banana, or simply tear off a warm piece and spread it with good salted butter. It also makes a wonderful base for avocado toast or a hearty BLT.
How To Store It
Wrap the cooled loaf tightly in plastic wrap or keep it in an airtight bread bag at room temperature for up to 3 days. For longer storage, slice the whole loaf and freeze it in a zip-top bag. Pull out slices as needed and toast them straight from the freezer.
Easy Variations To Try
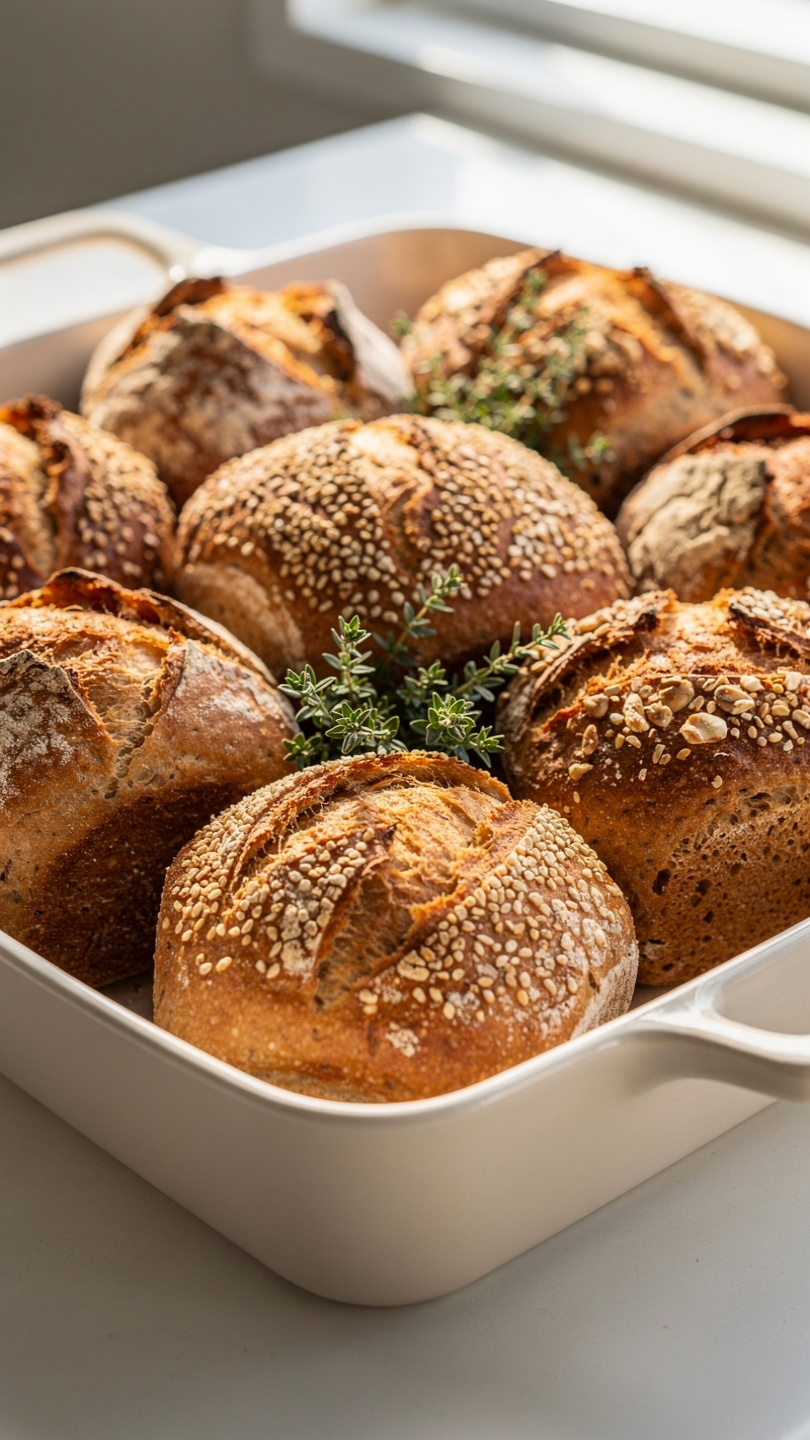
- Homemade honey wheat bread with oats: Press a small handful of rolled oats onto the top of the shaped loaf before the second rise for a rustic, bakery-style finish.
- Seeded loaf: Mix 2 tablespoons of sunflower seeds or flaxseeds into the dough for added texture and nutrition.
- Cinnamon swirl: Before rolling the dough into a log, sprinkle it with a mixture of cinnamon and brown sugar for a naturally sweet variation perfect for breakfast.
Once you master this easy homemade whole wheat bread, you will find yourself baking it on repeat. It is one of those recipes that quietly becomes a household staple, the kind your family starts requesting every Sunday.