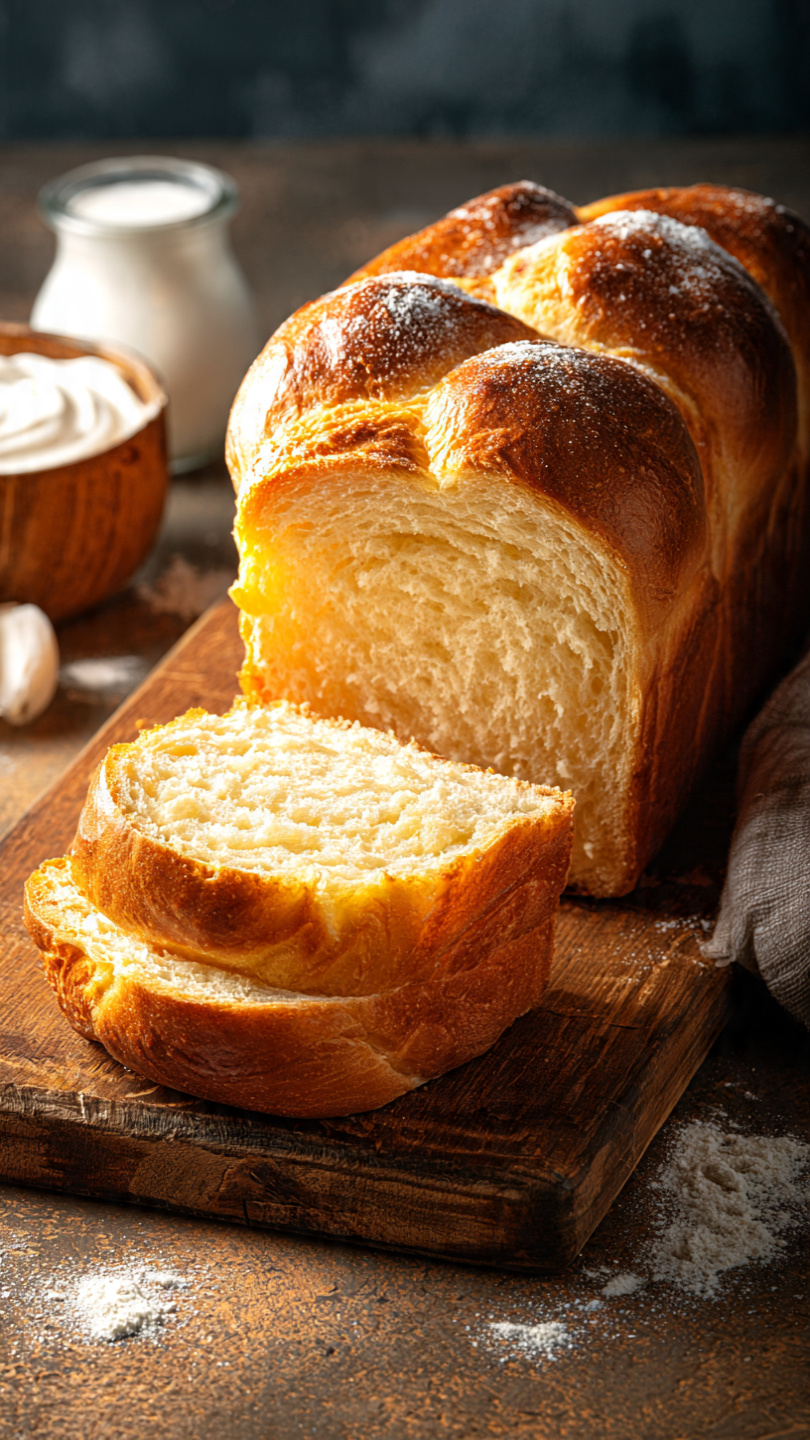
Sourdough Croissant Bread (Crispy, Buttery, and Irresistibly Flaky)
This sourdough croissant bread combines the tangy depth of a classic sourdough loaf with the rich, buttery layers of a croissant for the most irresistible homemade bread you will ever pull from your oven.

The Bread That Broke My Brain (In the Best Way)
I will be honest with you. The first time I heard about sourdough croissant bread, I had a lot of questions. Is it a sourdough loaf? Is it a croissant? Is it a chaotic fever dream invented by someone with too much butter and not enough sleep? The answer, it turns out, is a joyful yes to all three.
This crossaint sourdough loaf sits at the absolute intersection of two of the most beloved baked goods in the world. You get the tangy, complex flavor of a long-fermented sourdough crumb paired with the shatteringly crisp, pull-apart layers you only get from real laminated dough. The result is a bread that looks stunning on a cutting board, smells incredible in the oven, and tastes like something you would order at a very good Parisian bakery.
And the best part? You can make it at home.
What Makes This Different From Regular Sourdough
A standard sourdough loaf gets its flavor from fermentation and its structure from gluten. This sour dough croissant bread does all of that and then layers cold butter into the dough through a process called lamination, the same technique used for traditional croissants and Danish pastry.
The result is a loaf with visible, distinct layers inside. When you slice it, you can actually see them. When you toast it, the outside turns impossibly golden and crisp while the inside stays tender and chewy. It is genuinely one of the more magical things bread can do.
This is not a weeknight recipe. It rewards a weekend when you are home, unhurried, and ready to enjoy the process. The active work time is manageable, but the folds and rests are spread over a day or two. Plan for it and it will not stress you out at all.
Chef's Tip: Your sourdough starter needs to be at peak activity for this recipe. Feed it 6 to 8 hours before you plan to mix the dough and look for it to be bubbly, domed, and passing the float test. A sluggish starter means a dense loaf.
The Secret Is the Butter (No, Really)
Before we get into the recipe, let me say something important about ingredients. The quality of your butter here is not a small detail. This entire loaf is built around butter. Using European-style butter with at least 82% fat content gives you layers that are distinct, flaky, and rich in a way that standard American butter simply cannot match.
The right tools matter just as much. A heavy rolling pin with enough weight to press evenly through cold laminated dough, a reliable instant-read thermometer to catch the perfect bake, and a sturdy 9 by 5 inch loaf pan that holds its shape are the three pieces of equipment that will make or break your results here.
Sourdough Croissant Bread Add-Ins and Variations
One of the most exciting things about this crescent sourdough bread formula is how well it takes to customization. After your final lamination fold and just before you roll the dough into a log, the surface becomes a canvas.
Here are some favorite sourdough loaf add-ins worth trying:
- Sweet version: Spread with softened butter, brown sugar, and a heavy shake of cinnamon before rolling
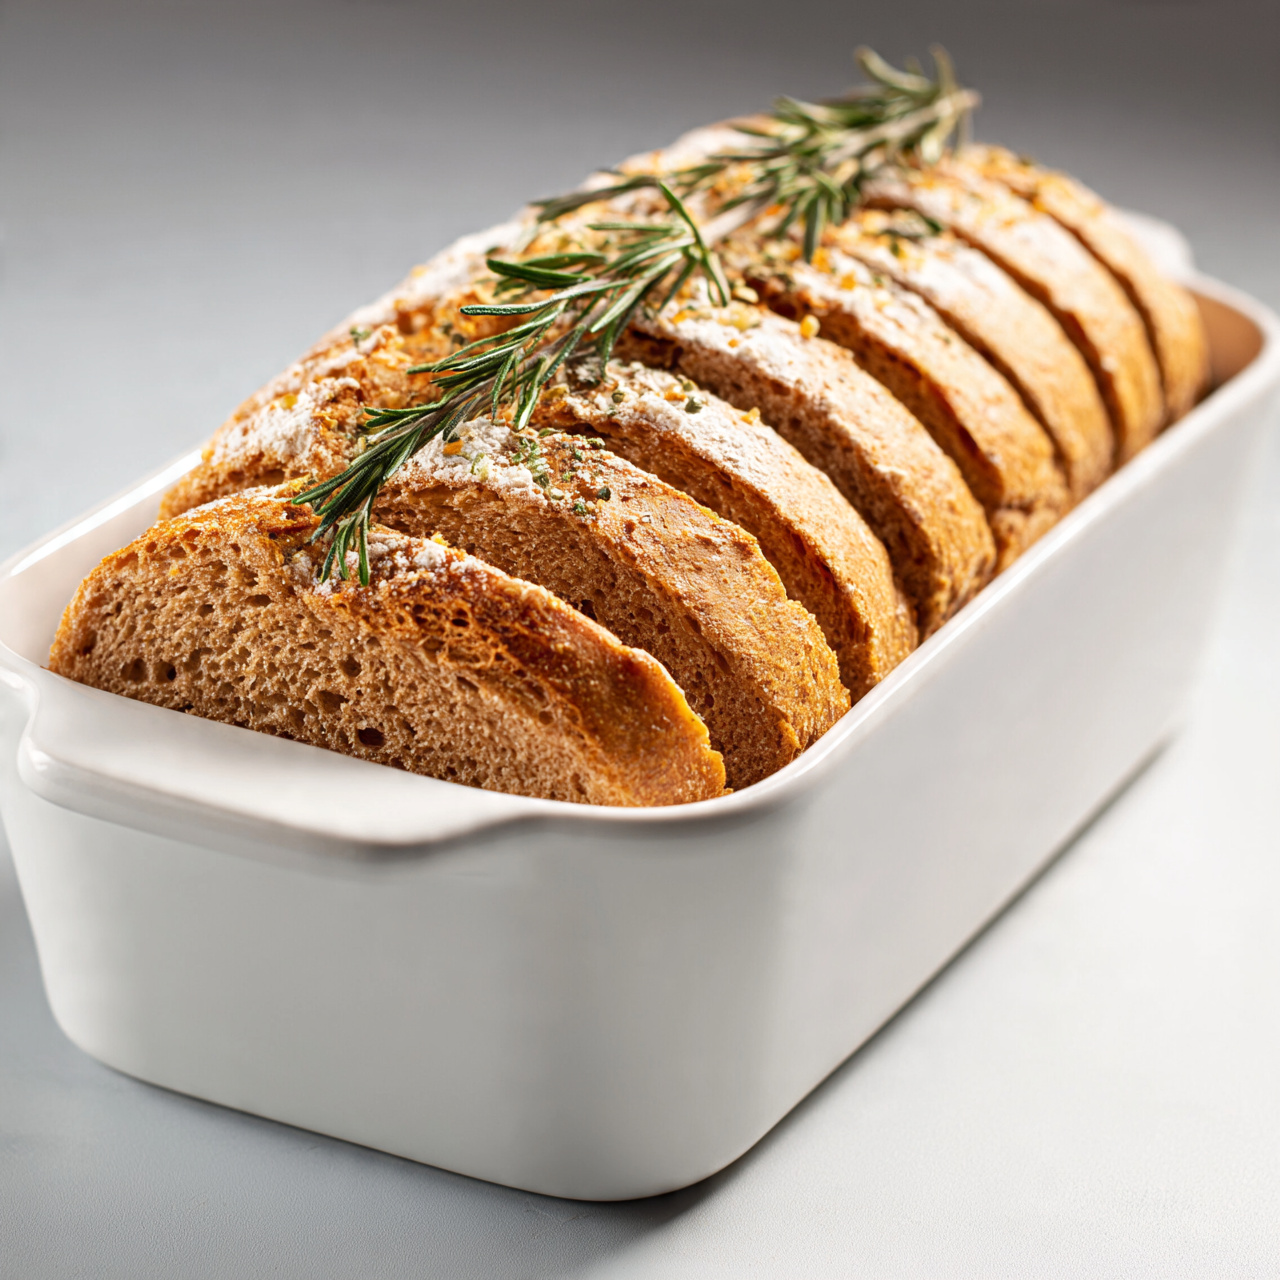
- Cheese and herb: Scatter shredded gruyere or sharp white cheddar with fresh thyme and cracked black pepper
- Chocolate: Lay down a thin layer of good dark chocolate chips or roughly chopped chocolate
- Almond: Spread a thin layer of almond paste or frangipane for something truly bakery-worthy
- Pesto swirl: A thin spread of basil pesto turns this into a stunning savory pull-apart loaf
These sourdough recipe ideas work because the laminated layers lock the filling in place as the loaf bakes. You get filling in nearly every slice.
Warning: Do not overfill the loaf or the layers will separate during baking and the bottom can become soggy. A thin, even spread is always better than a generous one here.
A Few Notes Before You Start
This recipe follows a similar approach to what you might see from bakers like Amy Bakes Bread, whose croissant bread tutorials helped popularize this style of laminated sourdough loaf in the home baking community. The technique has been refined here for reliability and consistent results in a home kitchen.
A few things to keep in mind:
- Cold is your friend. Keep the dough and butter cold throughout lamination. If either starts to feel greasy or the butter begins to seep through the dough, stop and refrigerate immediately.
- Do not skip the rests. The 30-minute chill between folds is not optional. It keeps the butter solid and the gluten relaxed.
- Patience with the final proof pays off. An under-proofed loaf will be dense and tight. You want the dough visibly puffed and jiggling gently before it goes in the oven.
Ready to make the most satisfying bread of your life? Here is everything you need:
Sourdough Croissant Bread (Crispy, Buttery, and Irresistibly Flaky)
This sourdough croissant bread combines the tangy depth of a classic sourdough loaf with the rich, buttery layers of a croissant for the most irresistible homemade bread you will ever pull from your oven.
Ingredients
- 3 1/2 cups bread flour, plus more for dusting
- 1/2 cup active sourdough starter, fed and bubbly, at peak activity
- 3/4 cup whole milk, warm, around 80 degrees F
- 12 tbsp unsalted butter, cold, European-style preferred, cut into thin slabs for lamination
- 2 tbsp unsalted butter, softened, for enriching the dough
- 2 tbsp granulated sugar
- 1 1/2 tsp fine sea salt
- 1 large egg, for egg wash
- 1 tbsp whole milk, for egg wash
- 1/2 tsp flaky sea salt, optional, for topping
Instruction
Make the dough: In a large bowl, whisk together the bread flour, sugar, and salt. Add the warm milk and bubbly sourdough starter, then mix until a shaggy dough forms. Add the 2 tablespoons of softened butter and knead by hand or with a stand mixer fitted with a dough hook for 8 to 10 minutes until the dough is smooth, elastic, and slightly tacky. It should clear the sides of the bowl.
First rise: Shape the dough into a ball, place it in a lightly oiled bowl, and cover with plastic wrap. Let it rise at room temperature for 4 to 6 hours until noticeably puffy but not necessarily doubled. For a more complex sour flavor, transfer the covered bowl to the refrigerator overnight (8 to 12 hours) after the first 1 to 2 hours at room temperature.
Prepare the butter block: Place the 12 tablespoons of cold butter between two sheets of parchment paper. Use a rolling pin to beat and roll it into a flat rectangle roughly 6 by 8 inches. Refrigerate until firm but still pliable, about 20 minutes.
Laminate the dough: On a lightly floured surface, roll the chilled dough into a rectangle roughly 12 by 8 inches. Place the butter block in the center and fold the dough over it like an envelope, pinching all seams tightly. Roll the dough out gently into a long rectangle about 18 by 8 inches, working away from you with steady, even pressure. Fold the dough into thirds like a letter. This is your first fold. Wrap in plastic and refrigerate for 30 minutes.
Repeat the folds: Repeat the rolling and folding process two more times, chilling the dough for 30 minutes between each fold. You will complete three folds total. After the final fold, refrigerate the dough for at least 1 hour or up to overnight.
Shape the loaf: On a lightly floured surface, roll the laminated dough into a rectangle roughly 14 by 10 inches. Starting from one of the short ends, roll it up tightly into a log. Pinch the seam closed and tuck the ends under. Place the shaped loaf seam-side down into a greased 9 by 5 inch loaf pan.
Final proof: Cover loosely with plastic wrap and let the loaf proof at room temperature for 3 to 5 hours, or until it has risen about 1 inch above the rim of the pan and jiggles slightly when you gently shake it. Do not rush this step.
Preheat and egg wash: Preheat your oven to 400 degrees F (205 degrees C). Whisk together the egg and 1 tablespoon of milk. Brush the top of the loaf gently and evenly with the egg wash, then sprinkle with flaky sea salt if desired.
Bake: Bake for 15 minutes at 400 degrees F, then reduce the heat to 375 degrees F (190 degrees C) and bake for another 20 to 25 minutes until the top is a deep golden brown. An instant-read thermometer inserted into the center should read 190 to 195 degrees F.
Cool completely: Transfer the loaf to a wire rack and let it cool for at least 45 minutes before slicing. Cutting too early will compress the layers and make the crumb gummy.
Equipment
- Large mixing bowl
- Stand mixer with dough hook (optional but helpful)
- Rolling pin
- Parchment paper
- 9 by 5 inch loaf pan
- Pastry brush
- Bench scraper
- Instant-read thermometer
- Wire cooling rack
- Plastic wrap
Notes
Serving, Storing, and Why This Loaf Never Lasts Long
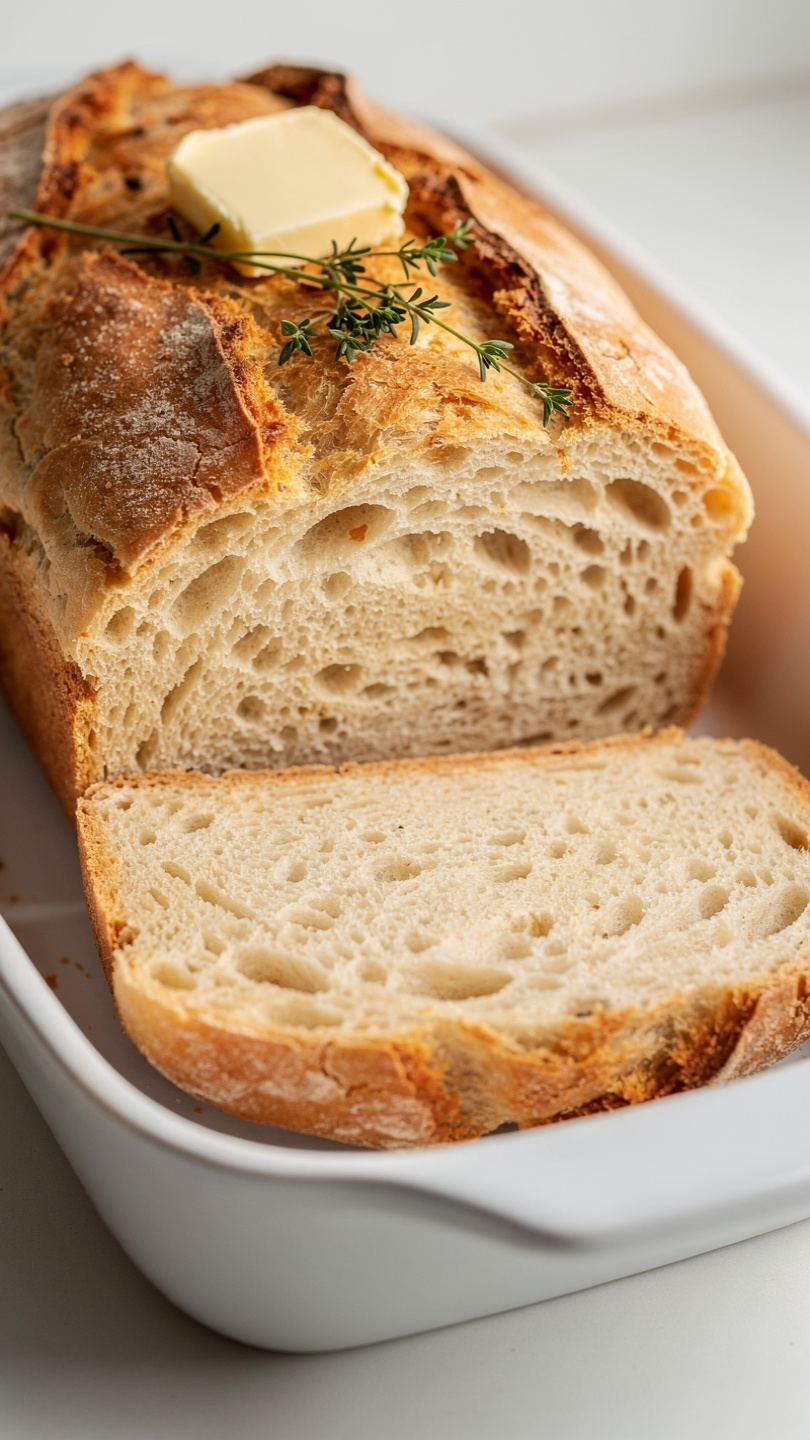
Once your sourdough crescent bread comes out of the oven and has cooled for the mandatory 45 minutes (I know, it smells incredible, stay strong), slice it thick and serve it simply. Good butter and flaky salt. That is genuinely all it needs the first time.
For a savory meal, it is extraordinary alongside a simple green salad or a bowl of tomato soup. For something more indulgent, thick slices toasted in a hot skillet with even more butter and a drizzle of honey are hard to argue with.
This is the kind of bread that becomes a signature. The people in your life will ask you to make it again. Say yes every time.