Simple Sourdough Bread Recipe (Soft, Fluffy & Homemade)
This simple sourdough bread recipe delivers a soft, fluffy homemade sandwich loaf with that signature tangy flavor, perfect for everyday slicing, toasting, and everything in between.

The Only Simple Sourdough Bread Recipe You Will Ever Need
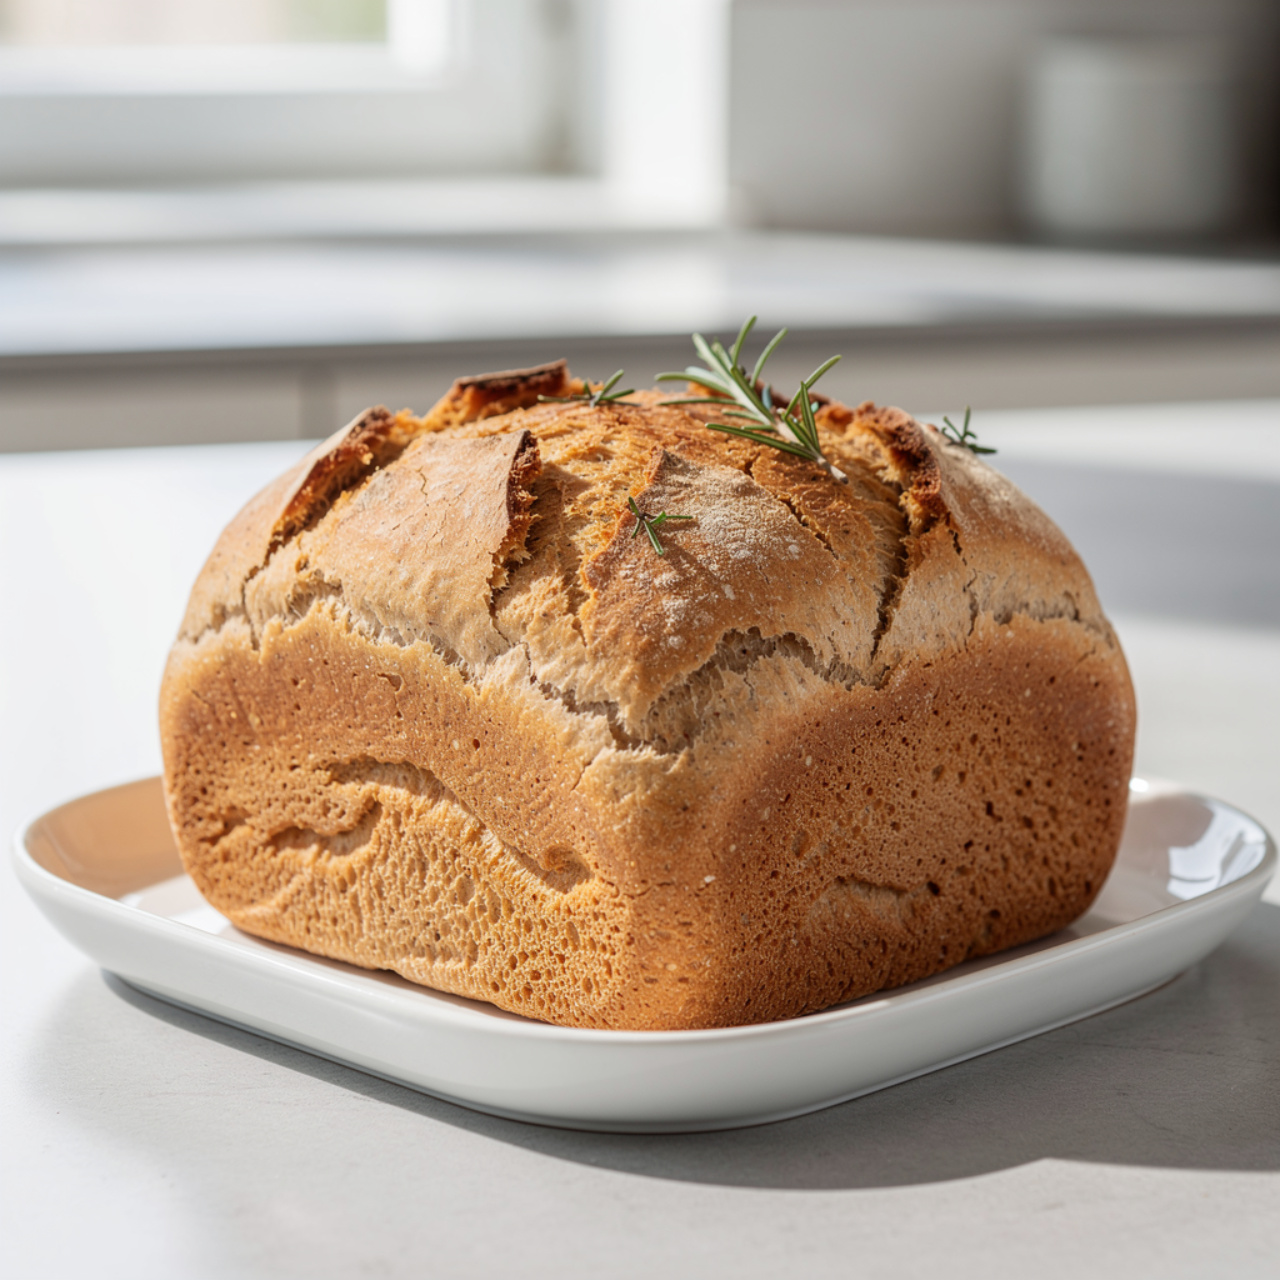
If you have been chasing that perfect homemade sourdough sandwich loaf, the kind that is light and fluffy on the inside with a golden crust that whispers farmhouse kitchen, you have landed in exactly the right place. This simple sourdough bread recipe is the one I come back to week after week. It is approachable enough for beginners, dependable enough for seasoned bakers, and the results are genuinely stunning.
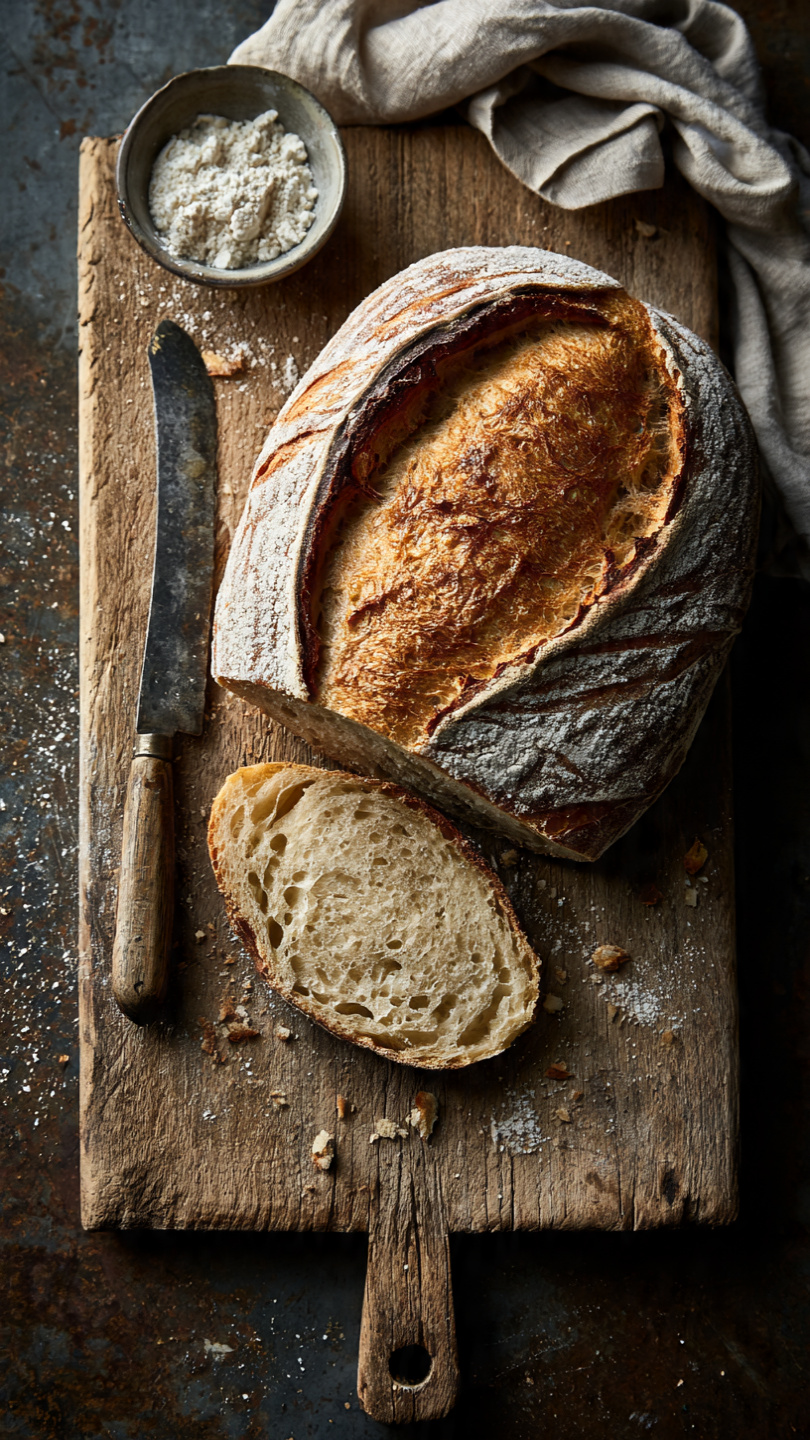
Think of it as your go-to easy soft sandwich sourdough: not the hulking, crackly artisan boule you need a serrated knife to wrestle open, but a tender, sliceable loaf that makes the most beautiful toast, the best grilled cheese, and sandwiches your family will actually request by name.
Why This Recipe Works So Well
There are a lot of homemade sourdough sandwich bread recipes floating around, and many of them are either too complicated or too vague to actually pull off on a weeknight. This one hits the sweet spot because it uses a long, hands-off bulk ferment (usually overnight) that does the heavy lifting while you sleep. No stretching and folding every 30 minutes. No babysitting.
The addition of a small amount of milk and honey is what sets this apart from a basic rustic loaf. Those two ingredients work together to:
- Soften the crumb for that fluffy, pillowy interior
- Feed the starter during fermentation for a more consistent rise
- Add a subtle natural sweetness that balances the tang of the sourdough
- Promote a gorgeous golden crust without any egg wash required
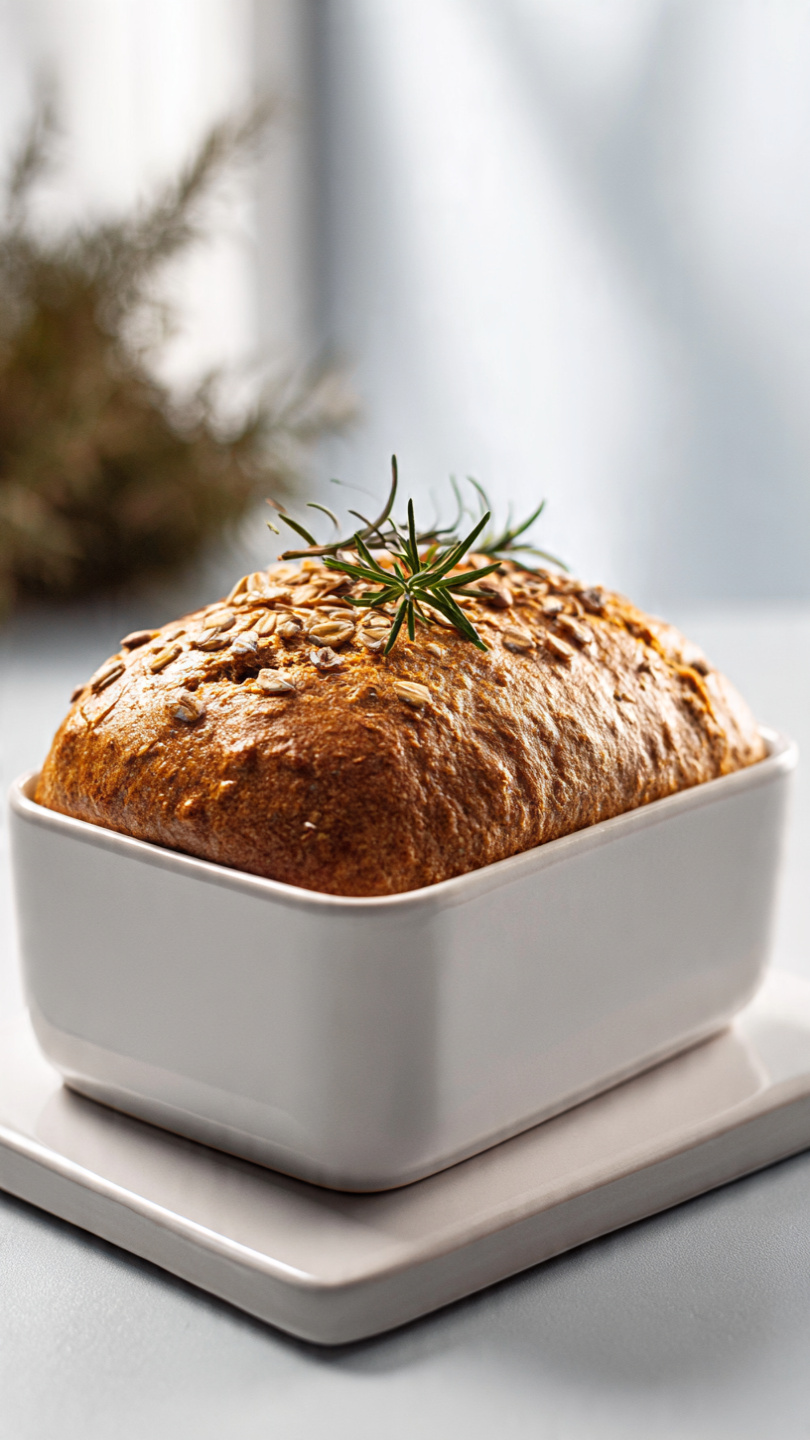
This is the kind of farmhouse sourdough sandwich bread that feels special but asks almost nothing of you beyond a little patience.
Chef's Tip: Your starter is the heart of this recipe. Use it when it is at peak activity, meaning it has doubled in size and is visibly bubbly. If it smells sharp like nail polish remover, feed it and give it more time before baking.
The Tools and Ingredients That Make a Real Difference
Before we get into the method, it is worth pausing here. Making a light, fluffy sourdough sandwich bread consistently comes down to two things: a lively, well-maintained starter and the right equipment. A properly sized loaf pan, a reliable instant-read thermometer, and high-quality bread flour are not optional extras. They are what separate a dense, gummy disappointment from a picture-perfect slice.
Building the Dough: What You Need to Know
This recipe is designed to be forgiving. The dough comes together in one bowl, requires no complicated techniques, and can be kneaded either by hand or in a stand mixer. Here is a quick breakdown of what each ingredient brings to the table:
- Sourdough starter: Provides both the leavening and that signature tang. The ratio here keeps the flavor present without being overwhelming.
- Bread flour: The higher protein content gives the loaf structure and a satisfying chew. All-purpose flour works in a pinch, but bread flour is worth it.
- Milk: Even a small amount adds richness and helps the crumb stay soft for days.
- Honey: A natural sweetener that also feeds the wild yeast and encourages a beautiful rise.
- Olive oil: Keeps the crumb tender and moist. Swap it for melted butter if you want a richer, more indulgent loaf.
The bulk ferment takes 8 to 12 hours depending on your kitchen temperature. This is not a flaw, it is a feature. A slower ferment develops deeper flavor and a more complex tang than any rushed method can achieve.
Baker's Note: If your kitchen runs cool in winter, place the covered dough in your oven with just the oven light on. That gentle warmth (usually around 75 to 78 degrees F) creates the ideal proofing environment without turning on any heat.
Shaping for That Perfect Sandwich Loaf
Shaping is the step that intimidates most new sourdough bakers, but for a soft sandwich sourdough baked in a loaf pan, it is genuinely simple. You are just pressing the dough into a rectangle and rolling it up. The pan does all the structural work for you. The key is to roll it firmly so you do not end up with big air pockets in the finished slice.
The second proof, that 1 to 3 hour rise in the pan, is what gives you that gorgeous dome above the rim. Do not skip it, and do not rush it. When the dough looks pillowy and has risen roughly 1 inch above the top of the pan, it is ready to go into the oven.
Ready to Bake Your Best Loaf Yet?
Everything you need is right below. Pull up the full recipe, gather your ingredients, and get ready to fill your kitchen with the most incredible smell imaginable.
Simple Sourdough Bread Recipe (Soft, Fluffy & Homemade)
This simple sourdough bread recipe delivers a soft, fluffy homemade sandwich loaf with that signature tangy flavor, perfect for everyday slicing, toasting, and everything in between.
Ingredients
- 1/2 cup active sourdough starter, fed and bubbly, at peak activity
- 1 cup warm water, around 90 to 100 degrees F
- 1/4 cup whole milk, room temperature, can substitute with any milk
- 2 tbsp honey, or substitute with maple syrup or white sugar
- 2 tbsp olive oil, or melted butter for a richer flavor
- 3 1/2 cups bread flour, spooned and leveled, plus more for dusting
- 1 1/2 tsp fine sea salt
Instruction
In a large mixing bowl, combine the active sourdough starter, warm water, milk, honey, and olive oil. Whisk until fully blended.
Add the bread flour and salt. Stir with a wooden spoon or dough scraper until a shaggy dough forms and no dry flour remains.
Turn the dough out onto a lightly floured surface and knead by hand for 8 to 10 minutes, until the dough is smooth, elastic, and slightly tacky but not sticky. Alternatively, knead in a stand mixer fitted with a dough hook on medium speed for 6 to 8 minutes.
Shape the dough into a ball and place it in a lightly oiled bowl. Cover with plastic wrap or a damp kitchen towel.
Allow the dough to bulk ferment at room temperature (ideally 72 to 76 degrees F) for 8 to 12 hours, or until it has roughly doubled in size. For a more manageable schedule, start this step in the evening and let it rise overnight.
Once risen, gently turn the dough out onto a lightly floured surface. Press it into a rough rectangle about as wide as your loaf pan. Roll it tightly into a log shape, pinching the seam closed.
Place the shaped loaf seam-side down into a lightly greased 9x5 inch loaf pan. Cover loosely with plastic wrap or a clean towel.
Let the dough proof for a second time at room temperature for 1 to 3 hours, until it has risen about 1 inch above the rim of the pan and looks pillowy.
While the dough finishes proofing, preheat your oven to 375 degrees F (190 degrees C).
Optional: Score the top of the loaf down the center with a sharp bread lame or serrated knife to help it expand evenly.
Bake for 35 to 40 minutes, until the crust is a deep golden brown and the internal temperature reads 200 to 205 degrees F (93 to 96 degrees C) on an instant-read thermometer.
Remove the loaf from the oven and let it cool in the pan for 10 minutes. Then transfer to a wire rack and cool for at least 1 hour before slicing. Cutting too early will result in a gummy interior.
Equipment
- Large mixing bowl
- Wooden spoon or dough scraper
- Stand mixer with dough hook (optional)
- 9x5 inch loaf pan
- Plastic wrap or damp kitchen towel
- Instant-read thermometer
- Bread lame or serrated knife
- Wire cooling rack
Notes
Serving, Storing, and Making It Your Own
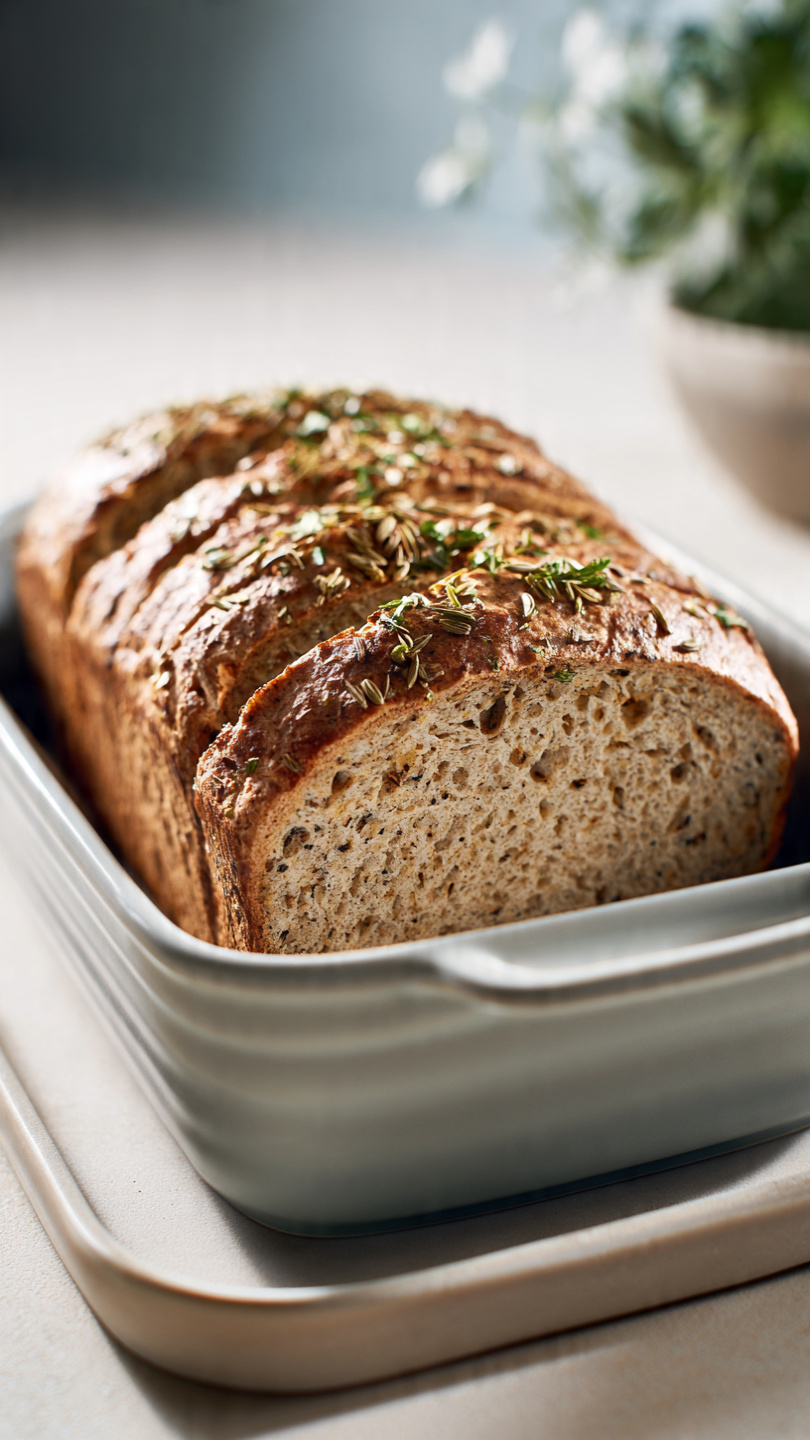
Once your loaf has cooled (and yes, waiting the full hour is genuinely important for the crumb to set), the possibilities are endless. This homemade sourdough sandwich bread shines in every application:
- Toasted with salted butter and a drizzle of honey
- Sliced thick for the ultimate BLT or grilled cheese
- Cubed and baked into the most flavorful croutons you have ever had
- Used as a base for avocado toast, French toast, or bruschetta
For storage, wrap the cooled loaf in a clean kitchen towel or beeswax wrap and keep it at room temperature for up to 3 days. If you want to plan ahead, slice the entire loaf once cooled and freeze it flat in a zip-top bag. Individual slices go straight from the freezer to the toaster whenever you need them, making this the most practical made from scratch sourdough bread recipe for busy households.
This is the kind of recipe that becomes a Sunday ritual. Once you make it, you will understand why so many home bakers never go back to store-bought again.