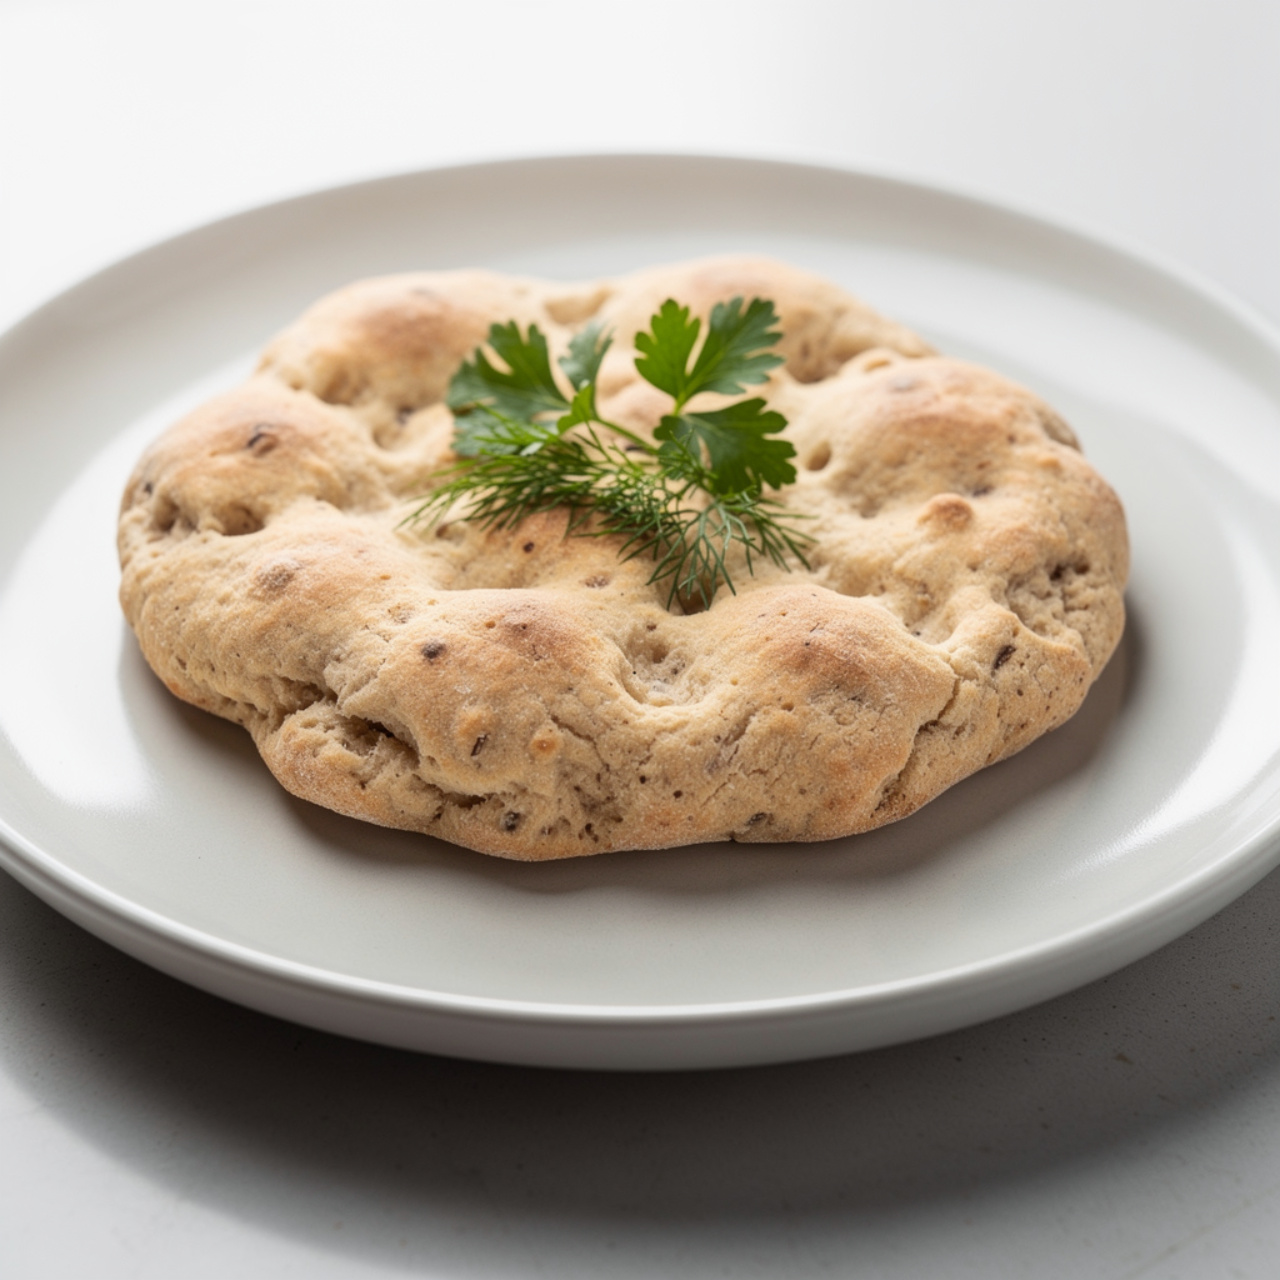
Sourdough Pita Bread (Easy Sourdough Discard Recipe)
Fluffy, pillowy sourdough pita bread made with sourdough discard for incredible tangy flavor and effortless results. The perfect easy beginner sourdough recipe that comes together in under an hour.

The Sourdough Pita Bread You Will Make on Repeat
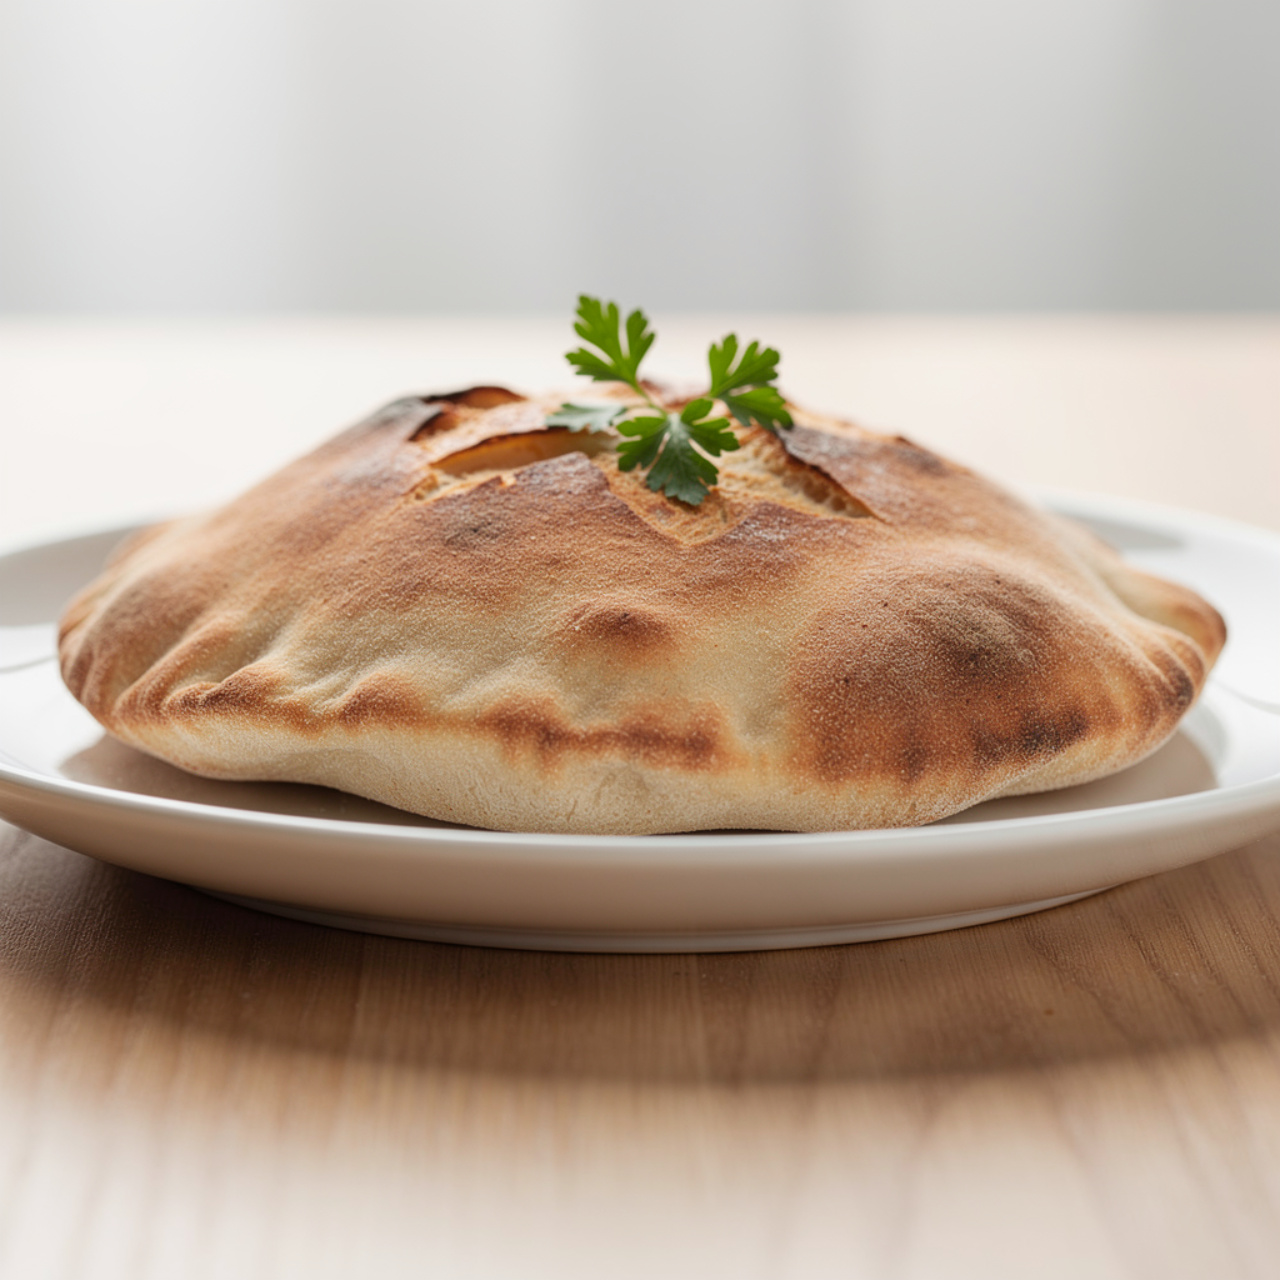
If you have ever stared at a container of sourdough discard in your fridge and thought, there has to be something better to do with this than pancakes, this sourdough pita bread recipe is your answer. Soft, pillowy, perfectly charred in all the right spots, and loaded with that gentle tangy depth that only sourdough can give, these pitas are genuinely one of the best easy sourdough discard recipes you will ever try.
They come together in just over an hour, require zero fancy equipment, and cook in a hot skillet on your stovetop. No oven required. No overnight fermentation needed. Just a quick, approachable, beginner-friendly sourdough recipe that delivers results you will want to show off.
Why Sourdough Discard Makes Better Pita Bread
Regular pita bread is already great. But a sourdough discard pita bread is on another level entirely.
The discard adds a gentle tang and complexity to the dough that you simply cannot fake. It also contributes a bit of extra moisture, which helps the inside of the pita stay tender even after the outside gets those gorgeous char spots. And because this recipe also uses a small amount of instant yeast, you get the best of both worlds: that signature sourdough flavor without waiting days for fermentation.
Think of it as an easy quick sourdough discard recipe designed specifically for busy weeknights. You are not sacrificing flavor for convenience. You are getting both.
Chef's Tip: Your discard does not need to be freshly fed or bubbly for this recipe. Discard that has been sitting in the fridge for up to two weeks works beautifully here. The older it is, the more pronounced the tang.
What You Need to Know Before You Start
This pita bread sourdough discard recipe is beginner-friendly, but a few technique points will make the difference between flat, tough rounds and beautifully puffed pockets.
Getting the puff: The signature pocket inside a pita forms because steam builds up between the layers of dough during cooking. For this to happen, your skillet needs to be genuinely hot (medium-high, not just warm), and your rolling needs to be even. Thick spots on one side of the round will prevent even steam distribution.
Knead properly: You do not need a stand mixer, but you do need to knead the dough long enough, about 6 to 8 minutes by hand, until it is smooth and slightly tacky. Under-kneaded dough will not develop enough gluten structure to trap steam and puff.
Let it rise: Even with a fast yeast boost, the dough needs 45 to 60 minutes to relax and rise. Rushing this step leads to tough, dense pitas. Be patient. It is worth it.
Using quality tools and ingredients genuinely elevates this simple pita bread sourdough discard recipe. A well-seasoned cast iron skillet gives you the consistent, intense heat that a thin nonstick pan simply cannot match, and a reliable kitchen scale takes all the guesswork out of measuring flour.
The Secret to That Perfect Char
Do not be afraid of color on your pitas. Those dark, blistered spots are not burning. They are flavor.
Cook each pita without any oil in the pan. The dry heat is what creates the char and helps the pita puff properly. You want to see the surface bubble and dome up within the first minute or so. Once you see bubbles forming across the surface, that is your cue to flip.
As soon as each pita comes off the pan, tuck it into a clean kitchen towel. The trapped steam softens the exterior and keeps the pita pliable and pillowy instead of cracker-crisp. This one simple step makes an enormous difference in the final texture.
Chef's Tip: Stack the pitas inside the towel as you cook them. They will all steam together and stay warm for serving, which is perfect if you are making a batch for a crowd.
Serving Ideas for Sourdough Pita Bread
Freshly made pita bread sourdough is endlessly versatile. Here are a few of our favorite ways to serve it:
- Stuffed with fillings: Classic gyro-style with tzatziki, cucumber, and grilled chicken
- Torn and dipped: Alongside hummus, baba ganoush, or warm lentil soup
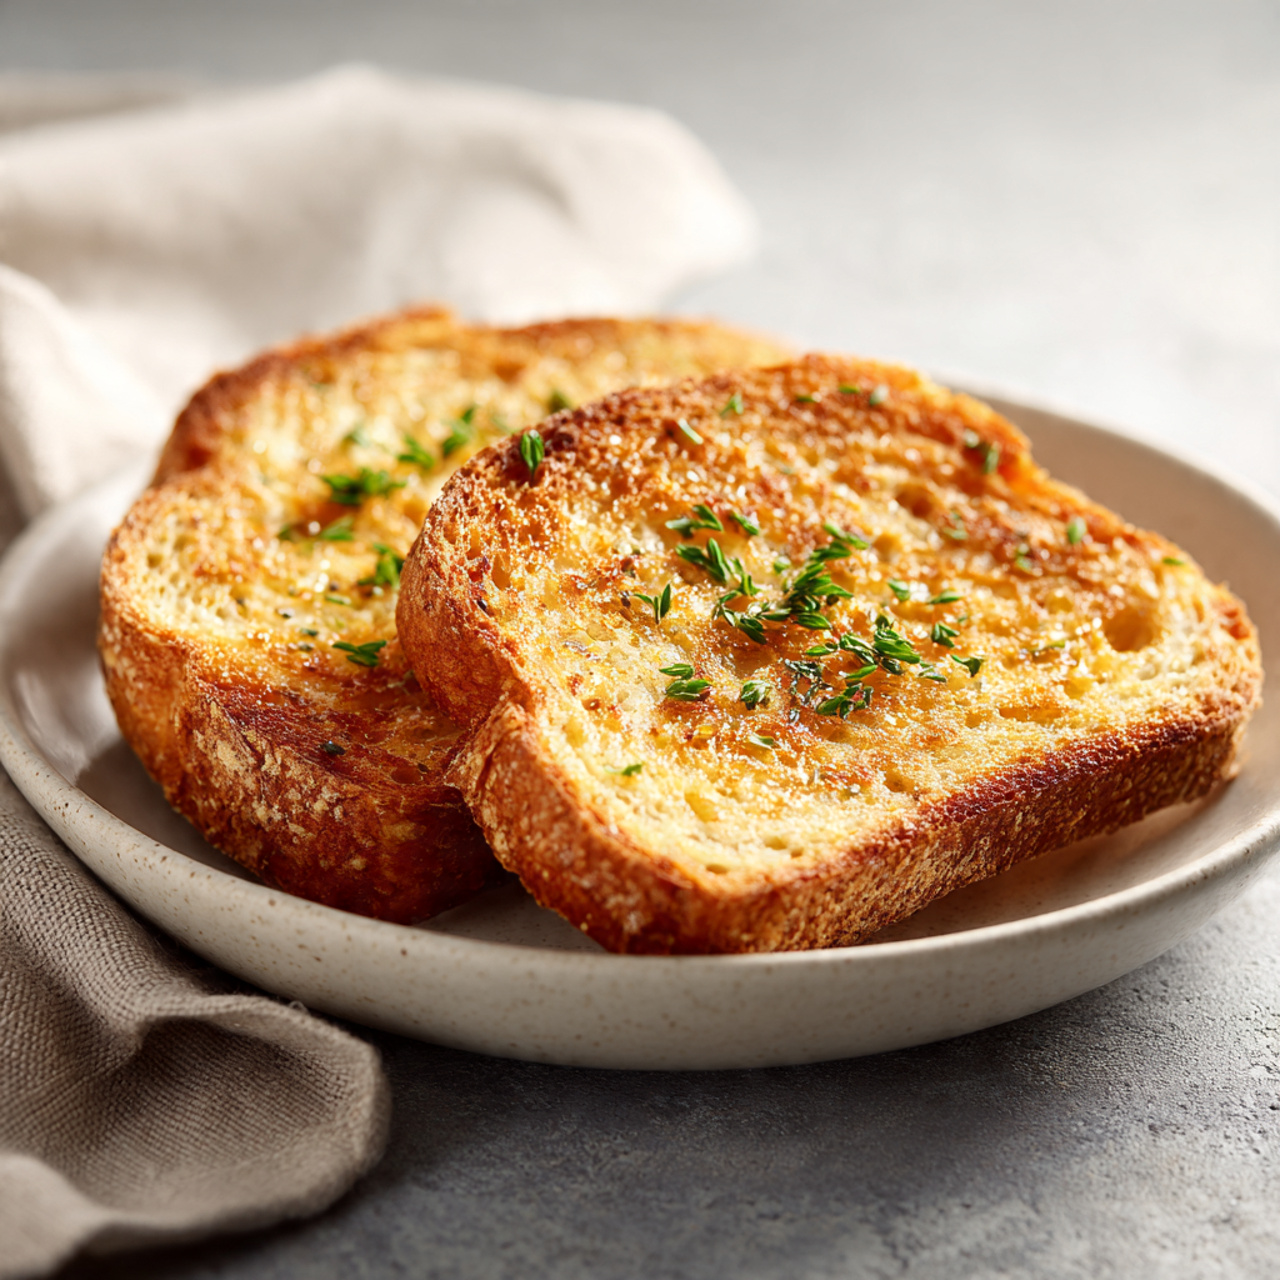
- As a flatbread pizza base: Brush with olive oil, add toppings, and broil for 3 to 4 minutes
- With breakfast: Fill with scrambled eggs, feta, and roasted cherry tomatoes
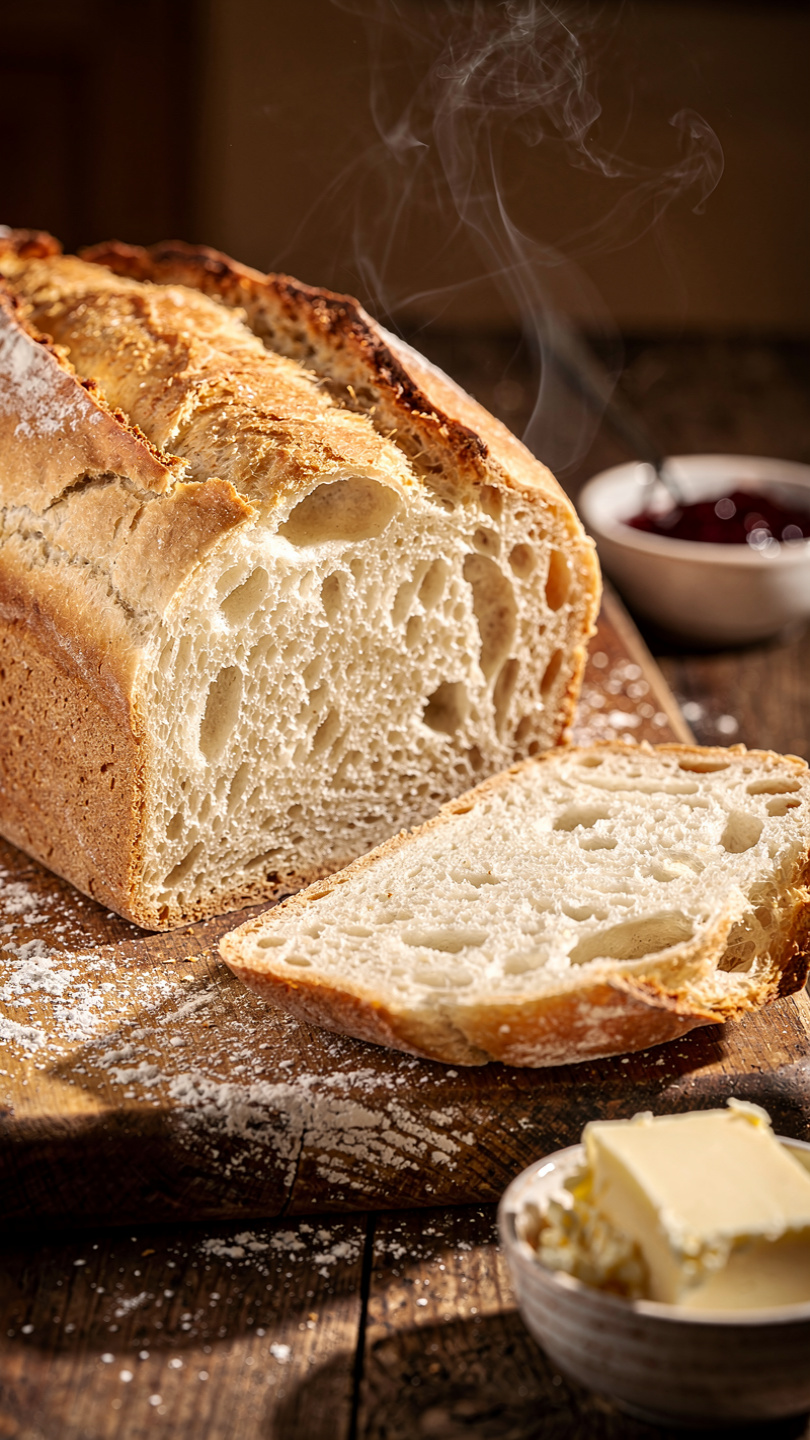
- Simply warm with good butter because sometimes that is all you need
Ready to bring it all together? Here is the full step-by-step recipe:
Sourdough Pita Bread (Easy Sourdough Discard Recipe)
Fluffy, pillowy sourdough pita bread made with sourdough discard for incredible tangy flavor and effortless results. The perfect easy beginner sourdough recipe that comes together in under an hour.
Ingredients
- 2 cups all-purpose flour, plus more for dusting; bread flour also works for chewier pitas
- 1/2 cup sourdough discard, unfed, at room temperature; active starter also works
- 3/8 cup warm water, about 100 to 110 degrees F; adjust as needed for dough consistency
- 1 tsp instant yeast, active dry yeast works too; dissolve in warm water first
- 1 tbsp olive oil, extra virgin preferred
- 1 tsp honey, or granulated sugar; feeds the yeast and balances the tang
- 3/4 tsp fine sea salt
Instruction
In a large mixing bowl, combine the warm water, honey, and instant yeast. Stir gently and let sit for 5 minutes until slightly foamy.
Add the sourdough discard and olive oil to the yeast mixture and stir until combined.
Add the flour and salt. Mix with a wooden spoon or your hands until a shaggy dough forms.
Turn the dough onto a lightly floured surface and knead for 6 to 8 minutes until smooth, soft, and slightly tacky but not sticky. Add flour one tablespoon at a time only if the dough is unworkably wet.
Shape the dough into a ball, place it in a lightly oiled bowl, and cover with a damp towel or plastic wrap. Let it rise in a warm spot for 45 to 60 minutes, or until roughly doubled in size.
Punch the dough down and divide it into 8 equal pieces. Roll each piece into a smooth ball.
On a lightly floured surface, roll each dough ball into a circle about 6 to 7 inches in diameter and roughly 0.25 inch thick. Try to keep the thickness even for the best puff.
Heat a large cast iron skillet or heavy pan over medium-high heat until very hot. Do not add oil.
Cook each pita for 1 to 2 minutes on the first side, until bubbles form on the surface. Flip and cook for another 1 to 2 minutes. The pita should puff up and develop light char spots on both sides.
Remove from the pan and wrap immediately in a clean kitchen towel to keep them soft and pliable. Repeat with remaining pitas.
Serve warm or let cool completely before storing.
Equipment
- Large mixing bowl
- Cast iron skillet or heavy-bottomed pan
- Rolling pin
- Kitchen scale (optional but recommended)
- Clean kitchen towel
- Wooden spoon or dough scraper
Notes
Storing and Reheating Your Pitas
One of the great things about this easy beginner sourdough bread recipe is that it stores and reheats beautifully.
Allow pitas to cool completely before storing, otherwise the trapped moisture turns them gummy. Seal them in an airtight bag or container at room temperature and they will stay soft for 2 to 3 days.
For longer storage, freeze them individually with a small piece of parchment paper between each one so they do not stick together. They will keep in the freezer for up to 2 months. Reheat directly in a dry skillet for about 30 seconds per side, or microwave one at a time wrapped in a damp paper towel for 20 seconds.
You can also make the dough the night before. After kneading, place the dough in an oiled bowl, cover tightly, and refrigerate overnight. The next day, pull it out, let it come to room temperature for about 30 minutes, divide, roll, and cook as directed. The cold, slow rise deepens the sourdough flavor even further.