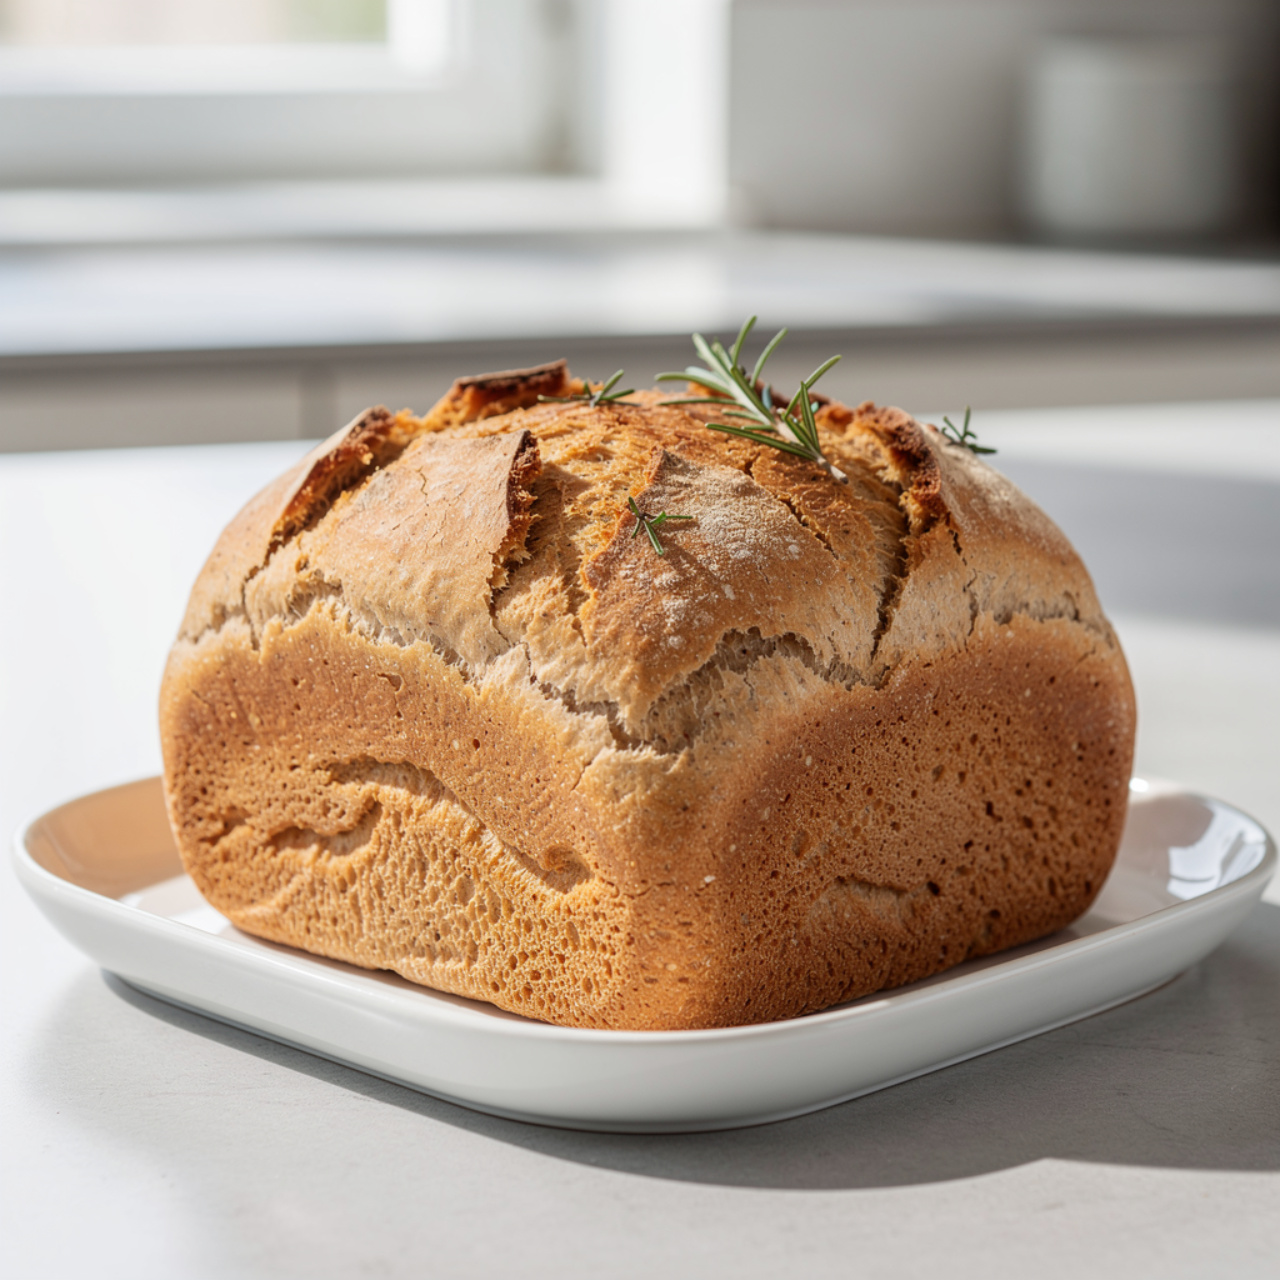
Sourdough Bread Machine Recipe (Crispy Crust, Chewy Crumb)
Make tangy, bakery-worthy sourdough bread right in your bread machine with this foolproof recipe. Perfect for beginners learning how to start sourdough bread at home.

The Easiest Way to Bake Real Sourdough at Home
Sourdough has a reputation for being complicated. Complicated starter schedules, complicated shaping techniques, complicated oven setups. But here is the truth: your bread machine does most of the hard work for you. This sourdough bread machine recipe gives you a genuinely tangy, chewy, bakery-worthy loaf without standing at your counter for hours folding dough.
If you have been wondering how to start sourdough bread at home or you already have a starter and just want a reliable everyday method, this recipe is exactly what you need. We are using the bread machine for what it does best, kneading and managing the first rise, and then finishing the loaf in the oven for that irresistible crackling crust.
What You Need to Get Started With Sourdough
Before anything else, let us talk about the one ingredient that makes or breaks every sourdough bake: your starter. If you are new to sourdough and wondering what do you need to start sourdough, the answer is simpler than most blogs make it sound. You need flour, water, time, and a little patience.
A sourdough starter is a live culture of wild yeast and beneficial bacteria. You feed it with fresh flour and water on a regular schedule, and in return it gives your bread its rise and its signature tang. When learning how to start making sourdough bread, the most important habit to build is consistent feeding. Feed your starter the same time every day, keep it at a stable room temperature, and watch it reward you with reliable, predictable fermentation.
For this recipe, your starter needs to be fed 4 to 8 hours before you plan to bake, at its absolute peak of activity. Bubbly, doubled in volume, and smelling pleasantly sour. That is the window.
The right tools also make a meaningful difference here. A quality bread machine with a dedicated Dough cycle, a reliable instant-read thermometer, and a Dutch oven for baking will genuinely elevate your results. These are the items worth investing in if you plan to bake sourdough regularly:
How Did Sourdough Bread Start? (A Quick, Delicious History)
Sourdough is the oldest form of leavened bread in human history, dating back over 5,000 years to ancient Egypt. Long before commercial yeast existed, every baker in the world relied on wild yeast captured from the environment to make bread rise. The characteristic sourness comes from lactic acid bacteria that ferment alongside the wild yeast, producing acetic and lactic acids that give the bread its complex, tangy flavor.
In other words, when you bake sourdough, you are participating in a culinary tradition that predates written language. No pressure.
Why This Bread Machine Method Works So Well
The most common struggle for beginners learning how to start making sourdough is the kneading. Sourdough dough is wetter and more elastic than regular bread dough, and developing proper gluten structure by hand takes real technique and effort.
Your bread machine solves that completely. The paddle kneads the dough thoroughly and consistently, building the gluten network that gives sourdough its satisfying chew. It also manages the first rise in a warm, draft-free environment, which is a genuine advantage on cool days.
From there, you shape the dough by hand, give it a second proof either at room temperature or overnight in the fridge for extra flavor, and bake it in your oven. The result is a loaf that looks and tastes like it came from a serious bakery.
Chef's Tip: If you want to know how to bake sourdough bread daily without burning out, this method is your answer. Make the dough in the evening, cold proof overnight in the fridge, and bake fresh bread every morning in about 45 minutes. The bread machine does the work while you sleep.
Tips for Getting Started With Sourdough Success
A few things that will make your first bake go smoothly:
- Use bread flour. The higher protein content builds stronger gluten and gives you that classic chewy crumb. All-purpose works in a pinch but bread flour is worth it.
- Weigh your ingredients. Volume measurements for flour are notoriously inconsistent. A kitchen scale removes all the guesswork.
- Do not rush the proof. Wild yeast is slower than commercial yeast. Give the dough the full time it needs, and taste the difference.
- Score the loaf before baking. A slash with a sharp knife or bread lame lets the bread expand in a controlled, beautiful way instead of cracking randomly.
- Let it cool completely. This is the hardest part. Slicing hot sourdough compresses the crumb and makes it gummy. One full hour minimum.
Warning: Do not add the salt directly on top of the starter in the bread machine pan. Salt inhibits yeast activity and can slow your fermentation. Always layer salt last, or mix it into the flour first.
Ready to Bake Your First Loaf?
Whether you are just figuring out how to get started with sourdough or you have been baking for years and want a more hands-off method, this recipe delivers. Grab your starter, dust off that bread machine, and let's get to it.
Here is everything you need, laid out step by step:
Sourdough Bread Machine Recipe (Crispy Crust, Chewy Crumb)
Make tangy, bakery-worthy sourdough bread right in your bread machine with this foolproof recipe. Perfect for beginners learning how to start sourdough bread at home.
Ingredients
- 1 cup active sourdough starter, fed and bubbly, at peak activity
- 3/4 cup warm water, around 80 degrees F
- 3 cups bread flour, plus extra for dusting
- 1 1/2 tsp fine sea salt
- 1 tbsp olive oil, extra virgin, for a softer crumb
- 1 tsp honey, optional, helps with browning
Instruction
Feed your sourdough starter 4 to 8 hours before you plan to bake. It should be bubbly, doubled in size, and smell pleasantly tangy before you use it.
Add the ingredients to your bread machine pan in the order recommended by your manufacturer. For most machines, add liquids first: warm water, sourdough starter, and olive oil. Then add bread flour, honey (if using), and salt last so it does not directly contact the starter.
Select the Dough cycle on your bread machine. This cycle typically runs 1.5 to 2 hours and handles both kneading and the first rise. Do not use the full Bake cycle yet.
Once the Dough cycle completes, check the dough. It should be smooth, slightly tacky, and have increased in volume. If it looks shaggy or has not risen much, allow it to rest in the machine for an additional 30 to 60 minutes with the lid closed.
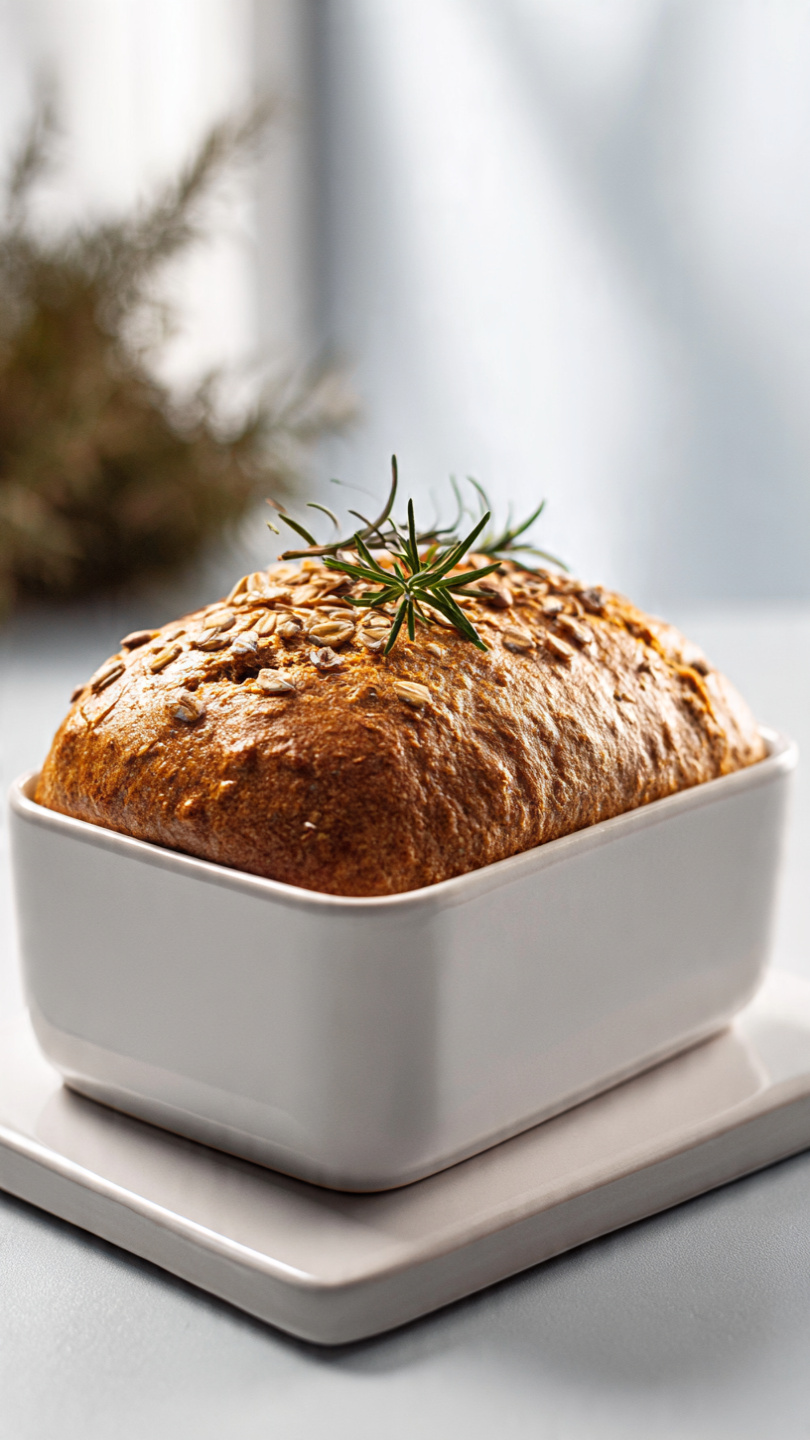
Remove the dough from the pan and shape it into a tight oval or round loaf on a lightly floured surface. Place it into a greased 9x5 inch loaf pan or a parchment-lined Dutch oven.
Cover the shaped dough loosely with plastic wrap or a damp towel and let it proof at room temperature for 2 to 4 hours, until it has puffed noticeably. For a more complex sour flavor, refrigerate overnight for a cold proof of 8 to 12 hours.
When ready to bake, preheat your oven to 450 degrees F (230 degrees C). If using a Dutch oven, place it in the oven while it preheats.
If using a Dutch oven, carefully transfer the dough using the parchment paper, score the top with a sharp knife or bread lame making one or two slashes about 0.5 inch deep, then cover and bake for 20 minutes. Uncover and bake for an additional 20 to 25 minutes until deep golden brown.
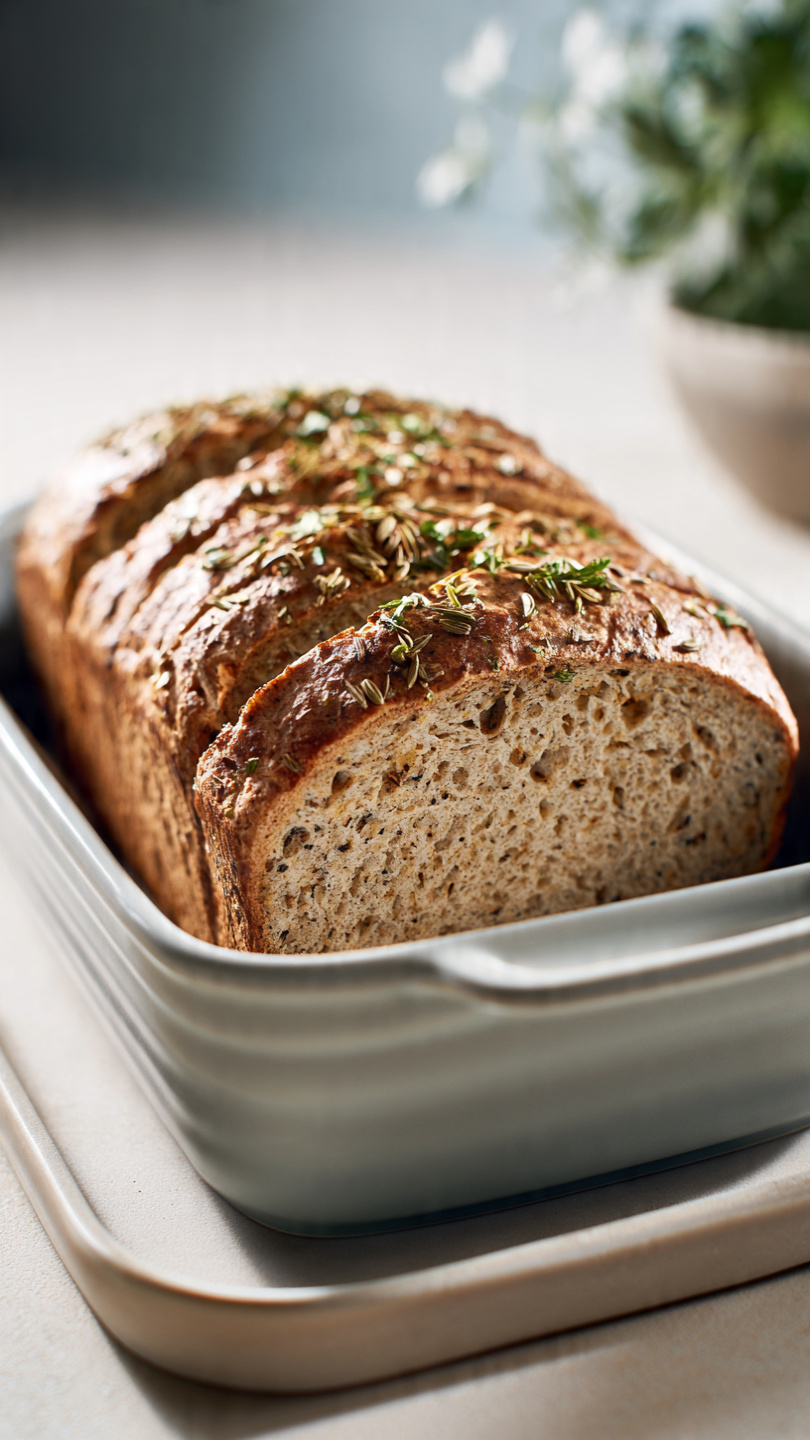
If using a loaf pan, score the top, then bake uncovered for 35 to 40 minutes until the crust is deeply golden and the internal temperature reads 200 to 210 degrees F (93 to 99 degrees C).
Remove the bread from the oven and let it cool on a wire rack for at least 1 hour before slicing. Cutting too early will give you a gummy crumb.
Equipment
- Bread machine with a Dough cycle
- Large mixing bowl
- 9x5 inch loaf pan or Dutch oven
- Bench scraper
- Bread lame or sharp serrated knife
- Instant-read thermometer
- Wire cooling rack
- Parchment paper
Notes
Serving, Storing, and Making It Your Own
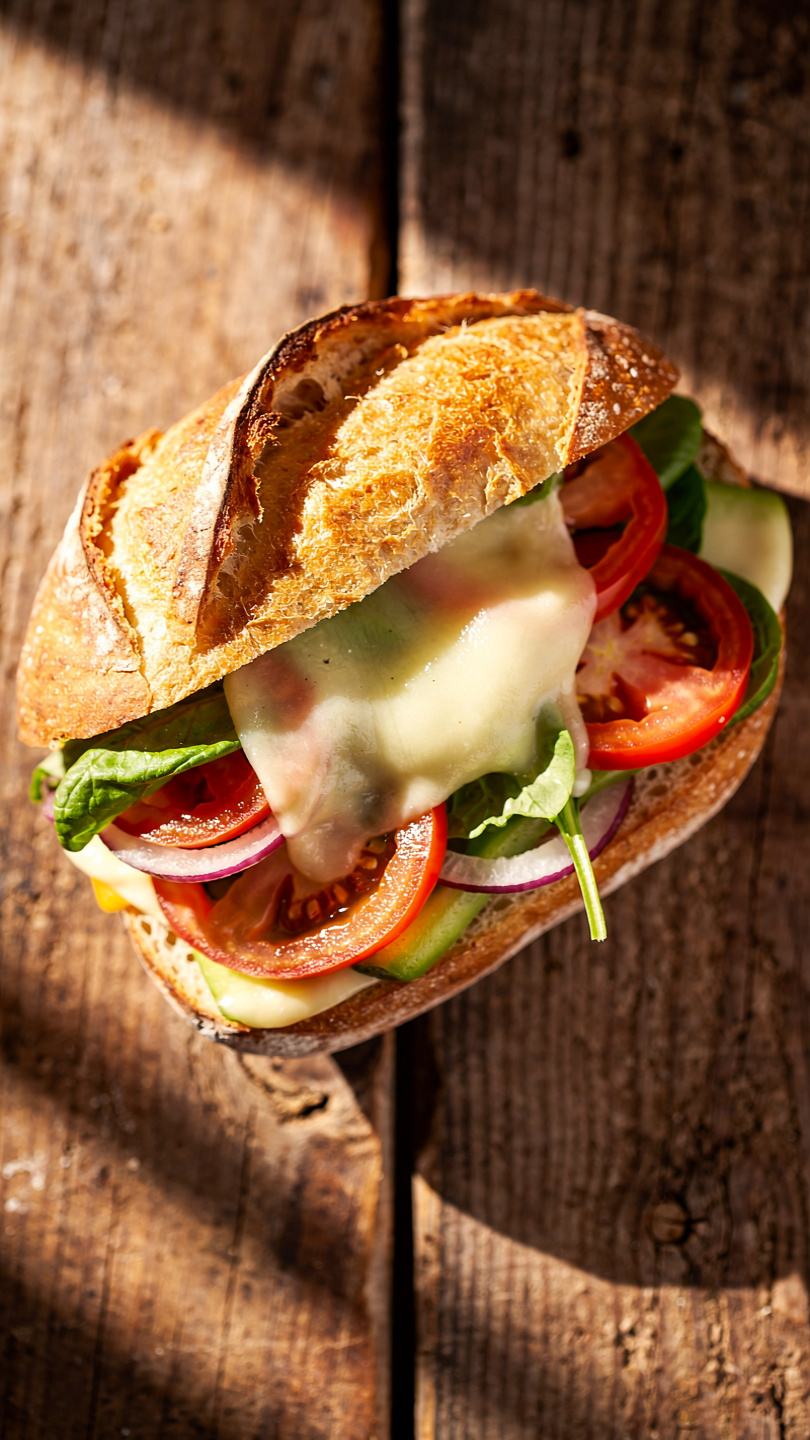
Fresh sourdough is transcendent on its own with just good butter, but do not stop there. Use it for thick-cut avocado toast, sturdy sandwiches that hold up to juicy fillings, or sliced and grilled alongside a hearty soup.
For storage, wrap the cooled loaf in a clean kitchen towel and keep it at room temperature for up to 3 days. Avoid plastic wrap on the whole loaf as it softens the crust. If you want to bake ahead, slice the loaf and freeze it. Individual slices go straight from the freezer into the toaster with zero compromise on flavor.
Want to customize the loaf? Try folding in a handful of toasted walnuts and dried cranberries during shaping, or add a tablespoon of everything bagel seasoning to the dough for a savory twist. Once you have the base recipe dialed in, the variations are endless.