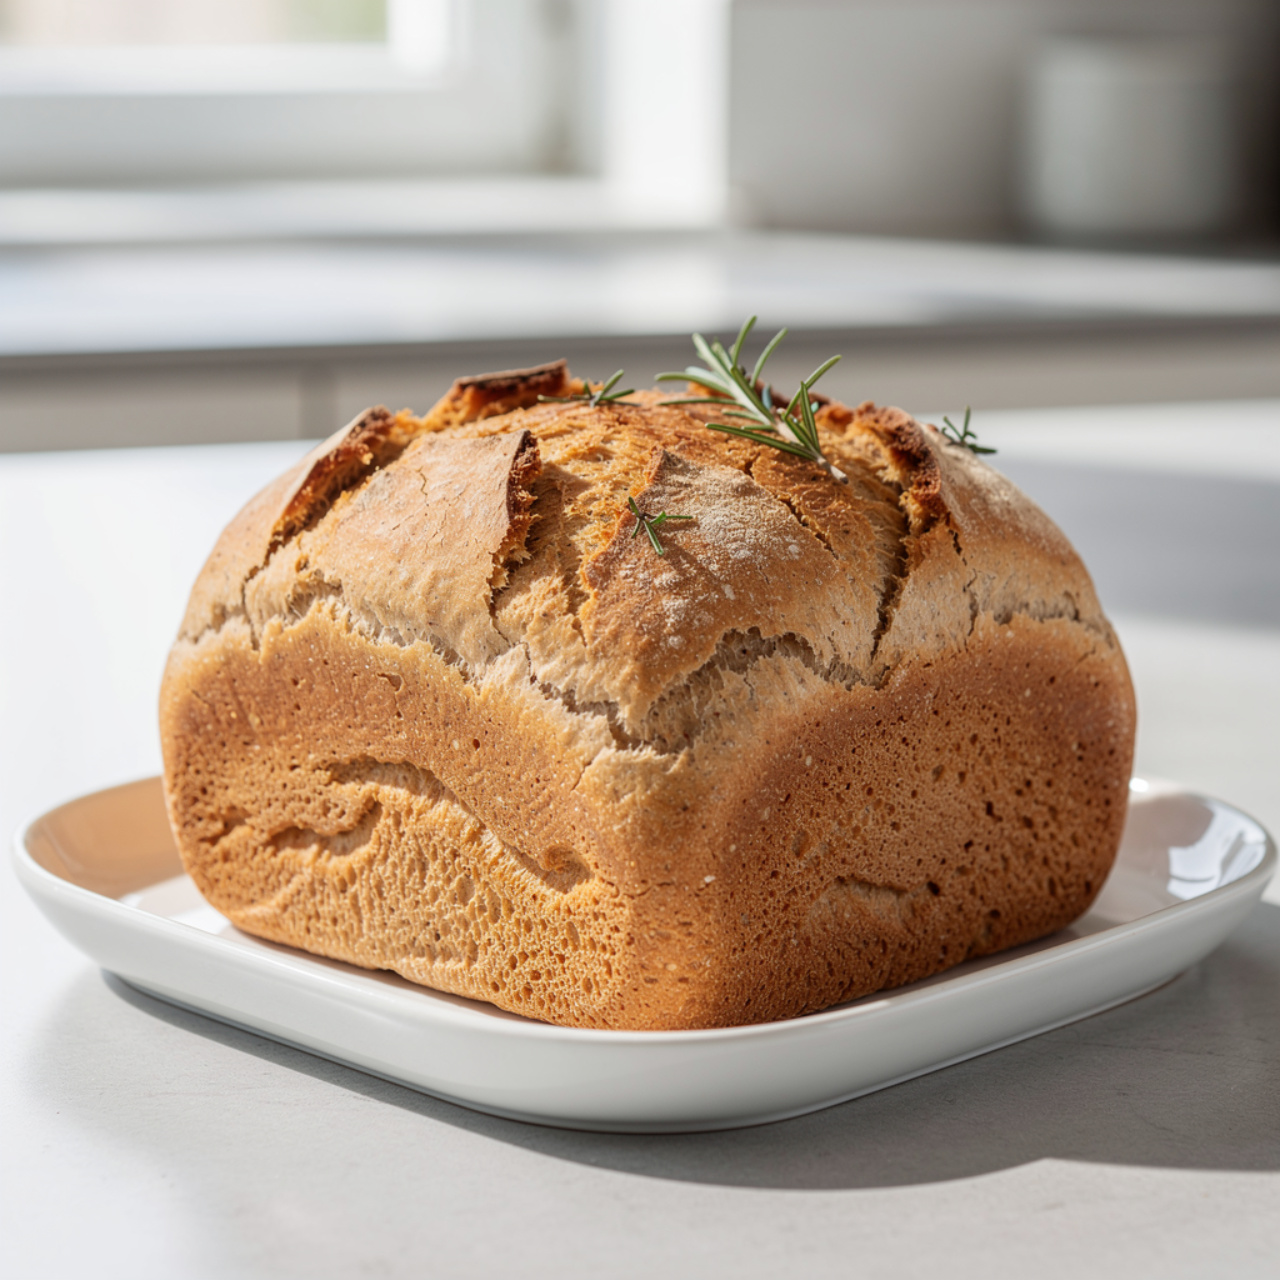
Sourdough Bread Starter: How to Make Your Own from Scratch
Learn how to make a sourdough bread starter from scratch with just flour and water. This foolproof homemade starter is the key to tangy, chewy sourdough loaves you will be proud to bake.

The Living Ingredient Every Sourdough Baker Needs
Before there were commercial yeast packets in every grocery store, bakers kept a little jar of wild fermented culture on their counter and used it to leaven every single loaf they made. That jar was their sourdough starter, and it changed everything about the way bread tasted. If you have ever bitten into a thick-crusted sourdough loaf with that signature tangy chew, you already know what a mature, well-fed homemade starter can do.
The good news is that learning how to make a sourdough bread starter requires nothing more than flour, water, time, and a little patience. This guide walks you through exactly how to start a sourdough starter from day one, what to expect along the way, and how to know when your starter is truly ready to bake with.
What Is a Sourdough Starter, Exactly?
A sourdough starter (sometimes called a levain or a mother culture) is a live fermented mixture of flour and water that captures wild yeast and beneficial bacteria from its environment. Over the course of several days of regular feedings, those microorganisms multiply into a stable, active culture capable of leavening bread without any added commercial yeast.
The process of how to make sourdough starter relies entirely on fermentation. The wild yeast produces carbon dioxide (which makes your bread rise) while the lactic acid bacteria produce the lactic and acetic acids responsible for that beautifully sour flavor.
A quick note on patience: Most beginner bakers expect bubbles by day 2 and panic when they do not see them. The truth is, a healthy starter can take anywhere from 5 to 10 days to fully develop depending on your flour, your water, and the temperature in your kitchen. Slow is not the same as dead.
Why Your Tools and Ingredients Actually Matter Here
Using the right jar, scale, and flour will make your starter-building experience significantly more consistent and less frustrating. A kitchen scale in particular is transformative when you are learning how to make sourdough starter, because weight-based measurements are far more accurate than volume for flour and water.
Choosing the Right Flour for Your Starter
Not all flour behaves the same way in a starter, and this is one of the most common points of confusion for beginners.
- Whole wheat flour is ideal for day 1 because the bran contains a higher concentration of wild yeast and bacteria. It gives fermentation a strong head start.
- Unbleached all-purpose flour is the workhorse for daily feedings once the culture is established. Bleached flour contains additives that can inhibit yeast activity, so unbleached is always the better choice.
- Rye flour is another excellent option for kickstarting a sluggish starter. Even a tablespoon stirred into a regular feeding can re-energize a slow culture.
For water, always use filtered or non-chlorinated water if possible. Chlorine in tap water can slow or inhibit fermentation. If you only have tap water, simply leave a glass of it out on the counter for 30 minutes before using it and the chlorine will largely dissipate.
How to Read Your Starter: Signs of Life
Knowing how to make sourdough starter young and active means learning to read what your starter is telling you.
Good signs:
- Bubbles throughout the mixture and on the surface
- A domed top at peak activity (roughly 4 to 8 hours after feeding)
- A pleasantly sour, yeasty, or slightly fruity smell
- Visible rise between feedings, ideally doubling in volume
Signs to watch but not panic over:
- A grayish or dark liquid on top (called hooch): this just means the starter is hungry. Stir it in or pour it off and feed as normal.
- A slightly vinegary or alcoholic smell in an older starter: normal, especially in cooler kitchens
- Slow activity in the first few days: very common and usually resolved with warmth and time
The Float Test: When you think your starter might be ready, drop a small spoonful into a glass of room-temperature water. If it floats, your starter is airy, active, and ready to bake with. If it sinks, give it a few more feedings.
The Daily Feeding Routine
Learning how to start a sourdough starter is really about learning a feeding rhythm. Here is the basic cycle:
- Discard about half the starter
- Add equal weights of fresh flour and water (a 1:1:1 ratio of starter to flour to water by weight)
- Stir vigorously, mark the jar, cover loosely, and wait
The discard step is not waste. It keeps the total volume manageable and prevents acid buildup that would eventually overwhelm the yeast. Save your discards in a separate jar in the fridge and use them in pancakes, crackers, or flatbreads.
Here is the complete day-by-day method for building your starter:
Sourdough Bread Starter: How to Make Your Own from Scratch
Learn how to make a sourdough bread starter from scratch with just flour and water. This foolproof homemade starter is the key to tangy, chewy sourdough loaves you will be proud to bake.
Ingredients
- 1/4 cup whole wheat flour, for day 1 only; helps jumpstart fermentation
- 1/4 cup all-purpose flour, unbleached preferred; used for daily feedings from day 2 onward
- 1/4 cup filtered or room-temperature water, non-chlorinated; let tap water sit 30 minutes if needed
Instruction
Day 1: In a clean glass jar (at least 1-quart capacity), combine 30 g (0.25 cup) whole wheat flour and 60 ml (0.25 cup) room-temperature filtered water. Stir vigorously until no dry flour remains and the mixture is smooth. Loosely cover with a cloth, paper towel, or jar lid placed on top without sealing. Leave at room temperature (70 to 75 degrees F is ideal) for 24 hours.
Day 2: You may or may not see bubbles yet. That is normal. Discard half the starter (about 50 g) and feed with 30 g all-purpose flour and 30 ml water. Stir well, cover loosely, and rest for 24 hours.
Day 3: By now you should see some bubbling activity and a slightly sour aroma. Discard half again, then feed with 30 g all-purpose flour and 30 ml water. Stir vigorously, cover, and rest 24 hours.
Days 4 and 5: Continue discarding half and feeding with 30 g flour and 30 ml water every 24 hours. You should notice more bubbles, a domed rise, and a pleasantly sour or yeasty smell developing.
Days 6 and 7: Switch to feeding every 12 hours if your starter is rising predictably and doubling in size between feedings. Mark the side of your jar with a rubber band or tape after each feeding to track the rise.
The starter is ready when it reliably doubles in size within 4 to 8 hours of feeding, smells pleasantly sour and yeasty (not putrid), passes the float test (drop a small spoonful in water and it floats), and has a domed or slightly fallen top at peak activity. This typically happens between day 5 and day 10 depending on your kitchen temperature.
Once active, maintain your starter by keeping it in the fridge and feeding it once a week, or leave it on the counter and feed it every 12 to 24 hours if you bake frequently.
Equipment
- 1-quart glass jar (mason jar works great)
- Kitchen scale (highly recommended for accuracy)
- Rubber band or tape to mark rise level
- Wooden spoon or dough whisk
- Cloth or paper towel for covering
- Small bowl for discards
Notes
Storing and Maintaining Your Starter Long-Term
Once your starter is active and reliable, you have two main options for ongoing care.
Counter storage (frequent bakers): Keep the jar at room temperature and feed every 12 to 24 hours. This is ideal if you bake sourdough several times a week.
Refrigerator storage (occasional bakers): Store in the fridge with a loosely closed lid and feed once a week. To bake, pull it out the night before, feed it, let it come to peak activity at room temperature, then use it in your recipe.
A mature, well-loved starter truly can last forever. Feed it, use it, share it with friends, and you will have the foundation for every beautiful sourdough loaf you bake for years to come.